
If you’ve already painted over a ceiling stain and watched it come right back, you’re not doing anything wrong — you’re just missing one step. The right way to block water stains on a ceiling permanently starts with one product: stain-blocking primer. More coats of regular paint will not fix this. This guide covers the full process: confirming the source is resolved, choosing the right stain blocking primer for your ceiling, applying it correctly, and blending the repaired patch so it disappears into the rest of the surface.
Disclosure: This article contains affiliate links. If you purchase through these links, we may earn a small commission at no extra cost to you. As an Amazon Associate, we earn from qualifying purchases.
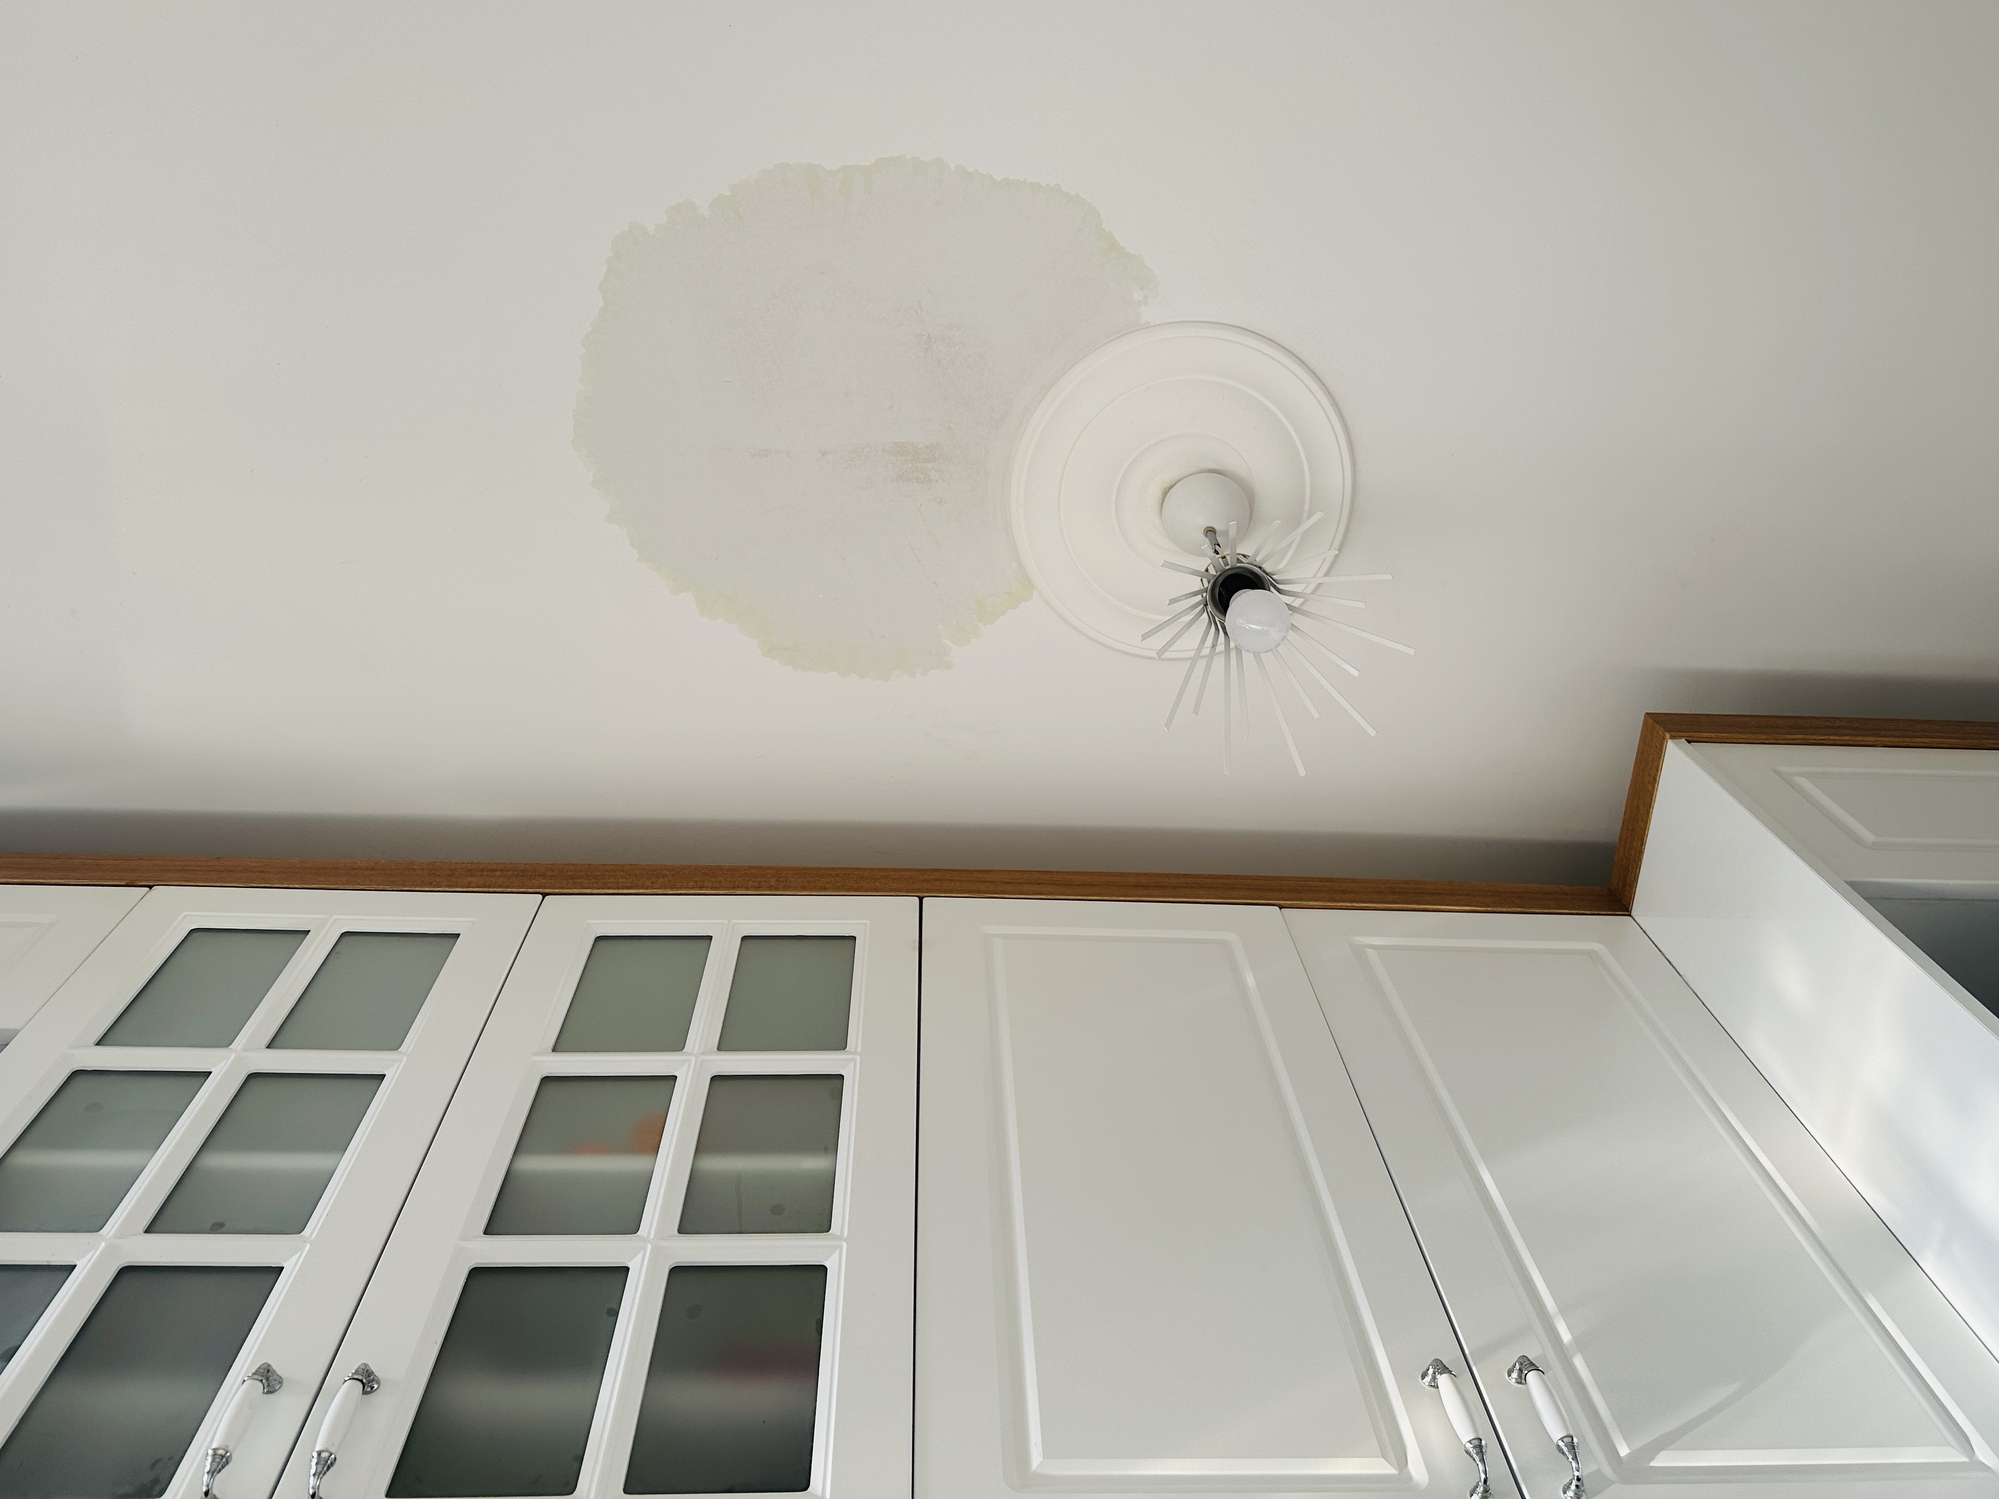
Why Water Stains Bleed Through Ceiling Paint and Keep Coming Back
Water damage leaves behind more than a discoloration. As moisture evaporates from drywall, it deposits dissolved minerals, tannins, and organic compounds from the drywall paper and binder directly into the surface. These residues are water-soluble.
When you apply standard latex ceiling paint over them, the water in the paint reactivates those compounds. They migrate upward as the paint dries. Then they push the stain back to the surface. This happens whether you apply one coat or five. If your water stain keeps coming back on the ceiling no matter how many times you paint it, this is why.
Stain-blocking primer works differently. It encapsulates those compounds under a sealed barrier before any topcoat touches the surface. Paint alone cannot do this job — a stain blocking primer for your ceiling is the only product that stops the bleed for good.
Fix the Leak First — Why Skipping This Step Wastes Every Coat of Paint
Before any primer goes on, confirm the moisture source is completely resolved. A stain-blocking primer applied over an active leak will fail. Moisture will continue moving through the drywall. It will break the primer bond from underneath.
How to confirm the source is dry:
- Go into the attic or the floor above and inspect the area directly above the stain
- Press the stained ceiling area gently with your fingertips — it should feel firm and completely dry, not soft, cool, or spongy
- Wait at least 24–48 hours after any known moisture event before doing surface work; longer if the leak was significant or your space is humid
Stop and call a professional if:
- The drywall feels soft, crumbles when pressed, or is visibly sagging
- There is black or green growth in or around the stain — mold requires remediation before any painting
- You cannot identify the source of the stain, or moisture keeps returning
If the ceiling is also bubbling or lifting in addition to staining, that points to a different underlying issue and should be addressed before you attempt to block the stain.
If the ceiling is structurally sound, firm, and fully dry, you’re ready to move forward.
How to Block Water Stains on a Ceiling: Choosing the Right Primer
This is the decision that determines whether your repair holds. There are three types of stain-blocking primer, and they are not interchangeable for this job.
| Primer Type | Best For | Dry Time | Notes |
|---|---|---|---|
| Shellac-based | Heavy, old, or repeat-bleed stains | 45–60 min | Strongest block; strong odor — ventilate well |
| Oil-based | Moderate stains | 2–4 hours | Good block, less odor than shellac |
| Water-based | Light, first-time stains | ~1 hour | Easy cleanup; not reliable on stubborn stains |
Simple decision rule:
- If the stain has already bled through paint at least once, use shellac-based or oil-based primer. Do not use water-based — it will likely fail again.
- If you’re dealing with a fresh, light stain that has never been painted over, a quality water-based stain blocking primer for the ceiling may be sufficient. A good all-around option for this is the KILZ 2 Multi-Surface Interior Primer, which handles light to moderate stains and works well for general interior repairs.
For stubborn stains, shellac-based primer is the most reliable option available to homeowners. Zinsser BIN is the most widely used product in this category and is available at most hardware stores. The strong solvent odor means you’ll need to open windows and run a fan — but the blocking performance on repeat-bleed stains is difficult to match.
For small stains under about 6 inches across, aerosol shellac-based primer is a convenient option. It delivers the same chemistry with no roller required.
How to Repaint a Water-Stained Ceiling: Step-by-Step
Step 1: Gather Your Materials
Have everything on hand before you start.
- Stain-blocking primer (shellac-based for stubborn stains)
- Ceiling paint matched to your existing finish (almost always flat sheen)
- Roller: 3/8″ nap for smooth ceilings, 1/2″ nap for textured ceilings — the higher nap works product into surface texture more effectively
- 2″ angled brush for cutting in edges
- Drop cloth and painter’s tape
- Safety glasses
- Respirator rated for VOCs if using shellac-based or oil-based primer — a basic dust mask is not sufficient
Step 2: Prepare the Surface
Wipe the stained area lightly with a dry cloth to remove dust or loose particles. Do not sand the stain aggressively. Sanding can tear the drywall paper. This worsens stain migration and creates a rougher surface to finish.
The ceiling must be completely dry before primer goes on. Allow 24–48 hours minimum after the last moisture event. Wait longer if conditions are humid or the leak was significant.
Step 3: Apply Stain-Blocking Primer
This step is how you block water stains on the ceiling for good. Get it right and the repair holds.
- Cut in around the stain with your angled brush, working around the full perimeter
- Roll the stained area, extending 2–3 inches beyond the visible stain boundary — tannins can spread slightly wider than the visible edge
- Apply one full coat; do not thin the primer
- Allow to dry fully: 45–60 minutes for shellac-based, 2–4 hours for oil-based, approximately 1 hour for water-based — check the label
- Once dry, inspect in good light — the stain should be completely opaque with no discoloration showing through
- If any shadow of the stain is still visible through the primer, apply a second coat before moving to paint
A partially blocked stain will still bleed. The primer layer must be fully opaque before any paint is applied.
Step 4: Apply Ceiling Paint
Use the same sheen as the rest of your ceiling. For most ceilings, this is flat. Flat paint conceals surface variation and patch edges far better than eggshell or satin.
- Apply two coats of ceiling paint over the primed area
- Allow full dry time between coats — typically 1–2 hours for latex ceiling paint; check the label
- On each coat, feather the edges outward past the primed area to avoid a hard paint line at the repair boundary
Step 5: Inspect in Raking Light
Once the final coat is fully dry, hold a lamp or flashlight at a low angle across the ceiling surface. This reveals sheen variation, visible patch edges, and any remaining stain shadow that flat-angle viewing misses.
If the repair looks clean under raking light, the job is done.
How to Match the Repainted Patch to the Rest of Your Ceiling
Even when the stain is fully blocked, a patched spot can look brighter or slightly different in sheen than the surrounding ceiling. This is a common finishing challenge — not a failure of the repair itself.
The most reliable solution: Repaint the entire ceiling plane rather than spot-patching. In small rooms, this takes less time than you’d expect and eliminates any visible repair line.
If you’re spot-patching only:
- Feather each coat generously — 12–18 inches past the repair edge using a dry roller with light pressure at the perimeter
- Use the same application method as the original ceiling (rolled, not brushed) to match surface texture
- Avoid eggshell or satin paint on a flat ceiling — the sheen difference will highlight the patch
- Wait 24–48 hours before judging the final result. Wet paint looks different than fully dried paint. Slight patchiness often evens out as it cures.
When a Water Stain Is a Sign of a Bigger Problem
Most ceiling water stains are cosmetic repairs once the source is fixed. But some situations call for professional assessment before any surface work begins.
Stop and get a professional opinion if:
- The drywall is soft, crumbling, or sagging — the structural integrity of the panel may be compromised
- The stain is surrounded by cracks radiating outward from the same area, which can indicate stress or movement beyond typical water damage
- There is visible black or green growth in or around the stain — this is mold, and it requires professional remediation before painting
- The stain has returned multiple times and the source has never been identified
If none of these apply and the surface is dry and firm, you’re dealing with a cosmetic problem with a straightforward fix.
FAQ
Can I use a spray stain blocker instead of rolling it on? Yes, for small stains. Aerosol shellac-based primer works well on spots under about 6 inches in diameter. For larger areas, rolling gives more even, controllable coverage.
How long should I wait after fixing the leak before priming? At minimum 24–48 hours for the surface to feel dry to the touch. For significant leaks or humid conditions, wait longer. If the drywall feels cool or slightly soft, it still holds moisture — do not prime yet.
Will one coat of stain-blocking primer always be enough? Usually, but you must inspect after it dries. If the stain is still visible through the primer, apply a second coat. Do not move to paint with a partially blocked stain — it will bleed through.
Why does my water stain keep coming back on the ceiling even after painting? This happens when standard latex paint is used without a stain-blocking primer underneath. The water in the paint reactivates the mineral deposits left behind by the leak. They rise back to the surface as the paint dries. A shellac-based or oil-based stain blocking primer seals those compounds so they can’t migrate. Paint alone will never stop this — primer is the fix.
What if my ceiling is textured? The primer and paint process is identical. Use a 1/2″ nap roller to work product into the texture. Matching the texture itself after a repair is a separate step — minor repairs with ceiling texture spray are possible, but matching heavily hand-applied texture is difficult.
How to Know Your Ceiling Water Stain Repair Is Complete
When you know how to block water stains on a ceiling correctly, the result is clear. The stain is completely invisible under the primer coat before paint ever goes on. After the topcoat dries, the repair blends with the surrounding ceiling — no visible shadow, no hard edge, consistent sheen. After 30 days, there is no reappearance of discoloration.
If the stain returns within weeks of a correct primer application — meaning shellac-based or oil-based primer was applied to full opacity — the leak source has not been fully resolved. At that point, the next step is finding the moisture source, not adding more paint.

