
By Mike Torrance, DIY Home Repair & Plumbing
Disclosure: This article contains affiliate links. If you purchase through these links, we may earn a small commission at no extra cost to you. As an Amazon Associate, we earn from qualifying purchases.
The most common reason homeowners search “garbage disposal leak from bottom” is because they spotted a puddle under the sink and assumed the disposal is dripping from underneath. That assumption is often wrong — and fixing the wrong thing first is exactly how you waste an afternoon. Water travels. It runs along the disposal body, follows drain pipes, and collects in the lowest corner of the cabinet before you ever see it. Where it pools is not always where it started.
If you’re not entirely sure the disposal is even the source of the problem — if water could be coming from a supply line, a drain trap, or another connection under the sink — see our Water Under Kitchen Sink: How to Find Which Connection Is Leaking before going further. This article focuses exclusively on the disposal itself.
Before you touch anything, cut the power. Unplug the disposal from the outlet under the sink, or switch off the circuit breaker that controls it. Confirm power is off before you put your hands near the unit. This is not optional.
Why Leak Location Matters Before You Touch Anything
A garbage disposal has three distinct leak zones, and each one points to a completely different cause:
- Bottom — internal seal or bearing seal failure inside the motor housing
- Top — the sink flange connection where the unit meets the drain hole in your sink
- Side — the drain line discharge outlet, or the dishwasher inlet hose if your dishwasher drains into the disposal
Treating a top-flange leak the same way you’d treat a bottom seal failure gets you nowhere. The repair paths are completely different. Identifying the zone first is the only way to fix it correctly on the first try.
If you dried everything off and you’re genuinely not sure whether the water is coming from the disposal or from somewhere else under the sink — a supply line, a drain trap, or an inline filter — that’s a broader diagnosis problem. This article covers the disposal itself. For a wider under-sink leak diagnosis, use our general under-sink leak guide first to rule out other sources before focusing on the disposal.
How to Confirm the Leak Source with a Dry-Test Method
This is the step most people skip, and it’s the reason most first attempts at garbage disposal leak repair fail.
Step 1: Dry everything completely. Use a towel to dry the disposal body, all visible fittings, the drain pipes, and the cabinet floor. Everything needs to be bone dry before you test.
Step 2: Fill the sink basin. Plug the drain and fill the sink with two to three inches of water. Do not run the disposal yet. Just let the water sit.
Step 3: Watch the top and sides. Crouch down and look at the top of the disposal where it meets the sink flange, and at both side fittings. Give it a full minute. If water appears at the top or side fittings while the water is just sitting in the sink, you have your zone.
Step 4: Let the water drain. Pull the drain plug and let the water flow through the disposal into the drain. Watch the side drain outlet connection as water passes through.
Step 5: Run the disposal briefly. With the power restored, run the disposal for 15–20 seconds while watching all three zones. Some internal seal failures only show up during operation — the grinding and spinning creates pressure that a static water test won’t trigger. Cut the power again before touching anything.
Mark where water appears first. That zone — top, side, or bottom — is where you start your repair.
Garbage Disposal Leak from the Bottom: Causes and Fix
A garbage disposal leak from the bottom almost always means the internal seal has failed. This is the seal between the motor and the grinding chamber, deep inside the unit. It is not accessible without disassembling the disposal, and it is not something a homeowner can repair.
This matters: if your dry-test shows water appearing only at the very bottom of the unit — with no drips at the top flange, no drips at the side fittings — the internal seal is gone. You have confirmed a garbage disposal leak from the bottom, and that distinction changes everything about how you respond.
Do not attempt to seal the bottom of the housing with caulk, epoxy, or any other sealant. This does not fix the internal failure. Water is still getting into the motor housing, and sealing over it creates a bigger mess. It never works.
If the unit is less than 2–3 years old, check the manufacturer’s warranty before doing anything else. Most major brands cover internal seal failure. A quick call or email with your model number and proof of purchase may get you a free replacement unit.
If the unit is out of warranty, replacement is the correct path. There is no DIY repair for a garbage disposal leak from the bottom caused by internal seal failure. See the replacement section below for guidance on what to look for in a new unit.
One thing worth clarifying: tightening the external mounting bolts or drain fittings will not stop a garbage disposal leak from the bottom. External connections have no relationship to the internal seal. If tightening everything you can reach doesn’t stop the drip, and the water is appearing at the base of the unit, that confirms the seal is the source — not a loose fitting.
Garbage Disposal Leaking from the Top: Sink Flange and Putty Failures
The sink flange is the metal ring visible from above, sitting in the drain hole of your sink. Below the sink, mounting hardware clamps it in place against the sink surface. Between the flange and the sink, there should be a ring of plumber’s putty creating a watertight seal.
Over time, that putty dries out and shrinks. The mounting hardware can also loosen — especially if the disposal has been knocked around or reinstalled at some point. Either situation allows water to seep down around the flange when the sink is in use.
Confirming a top leak: During the sink-filled phase of your dry-test, run your finger around the underside of the sink flange. Dampness, visible crumbling putty, or active dripping at this location confirms the source.
Fix Step 1: Try Tightening the Mounting Bolts First
Under the sink, find the mounting assembly — typically three mounting screws or bolts that clamp the flange from below. Using a screwdriver or nut driver, tighten each bolt a small amount, working in a sequence around all three rather than tightening one fully before moving to the next. This keeps even pressure on the flange.
Re-run the filled-sink test. If the leak stops, you’re done.
Fix Step 2: Replace the Plumber’s Putty
If tightening didn’t fix it, the putty has failed and needs to come out.
- Disconnect the disposal from the mounting assembly and set it aside. Support the weight — these units are heavier than they look.
- Remove the flange from above the sink.
- Scrape off all old putty from both the flange and the sink surface. It needs to be completely clean.
- Roll fresh plumber’s putty into a rope about the diameter of a pencil, and press it evenly around the underside of the flange rim.
- Press the flange back into the sink drain hole, reinstall the mounting hardware from below, and remount the disposal.
- Re-test with the filled-sink method.
One important note on sealant choice: Plumber’s putty is the right product for this application — not silicone caulk. Silicone bonds permanently to the sink surface and makes future removal unnecessarily difficult. A small tub of plumber’s putty costs a few dollars and is the correct tool for this repair.
Exception: If you have a stainless steel sink, check the sink manufacturer’s documentation first. Some stainless sink manufacturers specifically recommend silicone caulk for kitchen and bathroom at the flange rather than putty, as putty can stain certain finishes. When in doubt, use a non-staining plumber’s putty formulated for stainless surfaces.
Garbage Disposal Leaking from the Side: Drain Line and Dishwasher Inlet
Side leaks come from one of two places, and it’s important to identify which one before you start pulling connections apart.
Drain Line Discharge Outlet
The discharge outlet is the port on the side of the disposal where a short pipe carries waste water to the P-trap (the curved drain pipe). This connection uses a rubber gasket and is secured with a mounting screw or slip nut.
That rubber gasket compresses and degrades over time. When it goes flat or shifts position, water drips from this fitting whenever water is flowing through the unit — which is why it typically shows up during the run-water or run-disposal phases of the dry-test, not while the water is just sitting in the sink.
Fix:
- Remove the drain line from the outlet port.
- Inspect the rubber gasket — if it is flattened, cracked, or sitting off-center, it needs replacement. Gaskets for common disposal brands are inexpensive and available at any hardware store.
- Seat the new gasket correctly, reattach the drain line, and tighten the mounting screw or slip nut firmly.
- Re-test.
Dishwasher Inlet Connection
If your dishwasher drains into the disposal, there is a small inlet port — usually at the upper side of the unit — where a rubber drain hose connects and is held in place with a hose clamp.
This leak shows up specifically when the dishwasher is running a drain cycle, not when you’re using the sink. That timing is the tell.
Fix:
- Tighten the hose clamp with a flathead screwdriver.
- If the hose itself is cracked, or if tightening the clamp doesn’t stop the leak, replace the section of dishwasher drain hose.
- Run the dishwasher through a full drain cycle and observe the connection.
What not to do on side connections: Do not wrap these fittings with pipe tape (PTFE tape), sometimes called thread tape. The drain outlet and dishwasher inlet are gasket-style or compression connections — not threaded pipe joints. PTFE tape does nothing to fix a gasket leak. It creates false confidence that the repair is done while the leak continues.
When a Garbage Disposal Leak Means It’s Time to Replace the Unit
Use this as your decision guide:
- Garbage disposal leak from the bottom — replace the unit, no exceptions. Internal seals are not repairable.
- Top or side leak on a unit older than 10–12 years — the repair itself is cheap (putty and gaskets cost almost nothing), but weigh it against the unit’s age. An aging disposal may develop a second failure point soon after you fix the first.
- Leaking from multiple locations at once — replace. Multiple simultaneous failures on one unit mean the unit is done.
- Visible cracks in the disposal housing — replace immediately. No repair is appropriate for a cracked housing.
Choosing a replacement unit:
- ⅓ HP — light use, household of one or two people
- ½ HP — sufficient for most households; this is the most common choice
- ¾ to 1 HP — larger households, frequent heavy use, or if you regularly grind fibrous or starchy foods
Check whether your existing unit is cord-connected (plugged into an outlet under the sink) or hardwired directly into the electrical system. Most replacement units come with a cord, but if yours is hardwired, you’ll need an electrician to handle that part unless you’re comfortable with basic electrical work.
If replacing the unit involves re-running the drain line or the P-trap doesn’t line up correctly with the new disposal’s outlet height, see Common Mistakes When Replacing Under-Sink Plumbing Connections before you start — the most common errors in disposal replacement happen at that drain connection, not the disposal mount itself.
Prevention: How to Avoid Garbage Disposal Leaks Recurring
These habits make a real difference over the life of the unit:
- Run cold water before, during, and for 30 seconds after using the disposal. Cold water keeps internal temperatures down and reduces wear on seals.
- Avoid hard materials — bones, fruit pits, large seeds. These put excessive load on the grinding assembly and accelerate internal seal wear, which is one of the leading causes of a garbage disposal leak from the bottom over time.
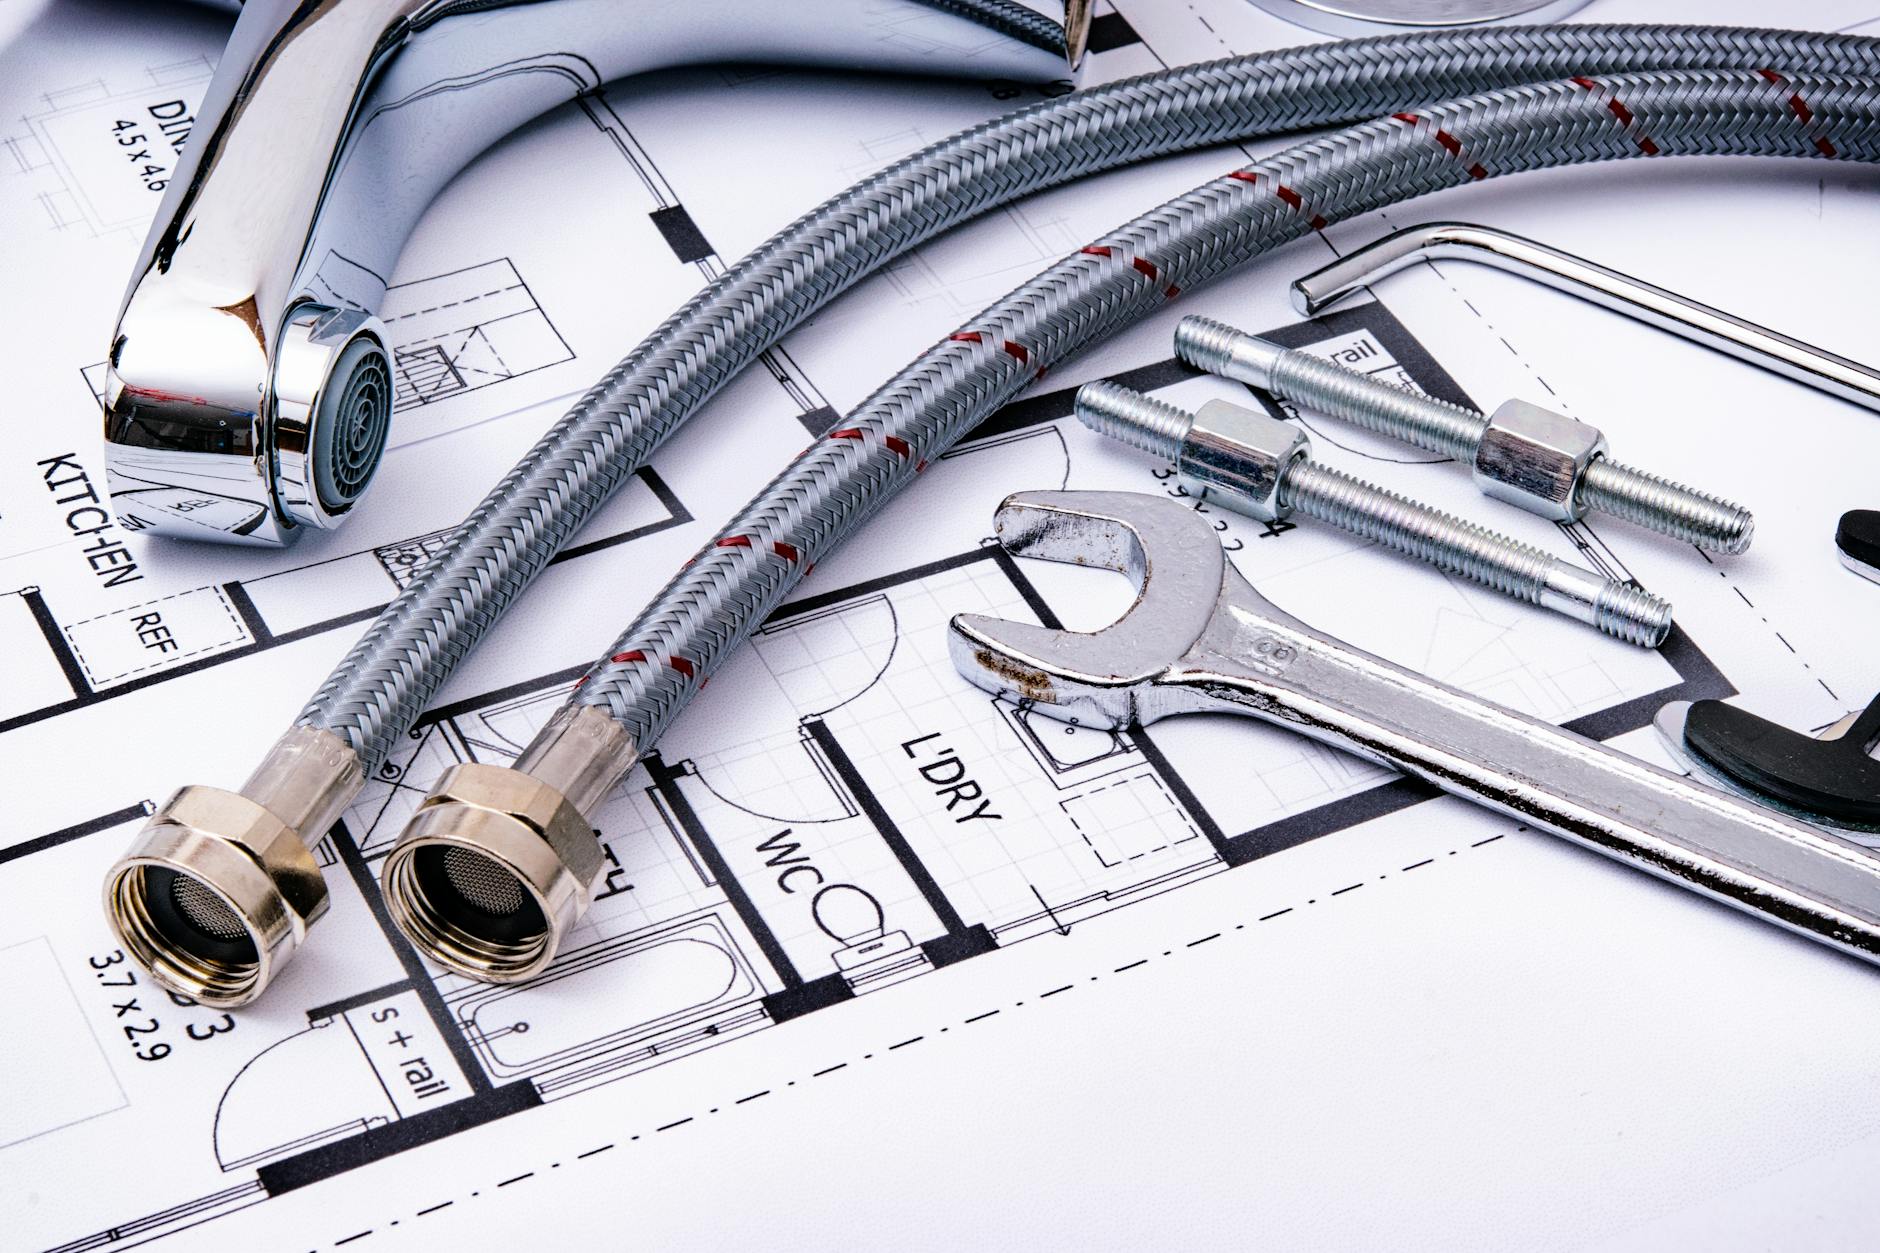
- Do a quick visual inspection once a year. Check the flange mounting bolts for looseness and look at the drain outlet fitting. Catching a loose bolt before it becomes a drip takes 60 seconds. While you’re under the sink, it’s also worth checking the cabinet floor and walls for any water damage that’s accumulated — our guide to Under-Sink Cabinet Water Damage: What to Dry Out and What to Replace walks through exactly what needs attention after any leak. It’s also worth inspecting the condition of your water supply lines — Best Flexible Supply Lines for Under-Sink Connections: Braided vs. Corrugated breaks down which type holds up better over time.
- If the disposal is ever removed for any reason — sink replacement, plumbing work, anything — replace the plumber’s putty before reinstalling. Dried, compressed putty that’s been removed from the seat will not reseal properly. Start fresh every time.
Frequently Asked Questions
Why is my garbage disposal leaking only when I run it, but not when the sink is just filled?
This is almost always an internal seal failure — specifically a garbage disposal leak from the bottom caused by a failed bearing seal between the motor and the grinding chamber. The internal seal holds under the static weight of water in the drain but fails once the motor spins and creates operational pressure. If you’ve filled the sink and seen no drip, but the unit leaks the moment you run it, the internal seal is gone and replacement is the correct fix.
Can I use plumber’s putty on a stainless steel sink?
Not always. Standard plumber’s putty contains oils that can stain certain stainless steel finishes over time. Some stainless sink manufacturers explicitly recommend silicone sealant at the flange instead of putty. Check your sink’s documentation before applying. If the manufacturer is silent on the topic and you want the easiest future serviceability, use a non-staining plumber’s putty formulated for stainless surfaces — these are clearly labeled and widely available.
Is it worth repairing a garbage disposal, or should I just replace it?
The answer depends on two things: where it’s leaking and how old the unit is. A garbage disposal leak from the bottom means internal seal failure — replacement is the only option, full stop. A top or side leak is inexpensive to repair (putty and gaskets cost almost nothing), and if the unit is under 8–10 years old, the repair is worth doing. If the unit is over 10–12 years old, or if it’s leaking from multiple locations, replacement usually makes more sense than patching an aging unit.
Why does my garbage disposal leak from the bottom even after I tighten everything?
Because tightening external connections has no effect on an internal seal failure. The garbage disposal leak from the bottom is coming from inside the unit — between the motor housing and the grinding chamber — not from any fitting you can reach from outside. No amount of tightening the drain line, mounting bolts, or flange hardware will stop it. If water is appearing at the base of the unit with no drips at the top or sides, the internal seal is the source, and the unit needs to be replaced.
How long does a garbage disposal last before it starts leaking?
Most garbage disposals last between 8 and 15 years, depending on usage frequency, what gets ground through them, and build quality. Units used daily in larger households with harder food waste tend to land closer to 8–10 years. Lighter-use units with consistent cold water running during operation can reach 12–15 years. A garbage disposal leak from the bottom before the 3-year mark usually indicates a manufacturing defect and may be covered under warranty.
Summary
A garbage disposal dripping underneath the sink is a fixable problem once you know which zone is leaking. A garbage disposal leak from the bottom means internal seal failure — replace the unit. A top leak means the sink flange putty or mounting hardware has failed — a cheap and straightforward repair. Side leaks point to the drain outlet gasket or the dishwasher hose clamp — equally simple once you’ve confirmed the source.
The dry-test method is what makes everything else work. Skip it and you’re guessing. Run it and you go directly to the right repair. Dry everything first, confirm the zone, then fix exactly that — and nothing else.

DIY Home Repair & Plumbing

