
By Mike Torrance — DIY Home Repair & Plumbing
Disclosure: This article contains affiliate links. If you purchase through these links, we may earn a small commission at no extra cost to you. As an Amazon Associate, we earn from qualifying purchases.
You open the cabinet under the sink to grab a sponge and find the floor of it is soft, discolored, or wet. Under-sink cabinet water damage repair starts with knowing what you’re dealing with — not with cleanup. Rushing to wipe things down before you understand the extent of the problem is how you end up with mold two weeks later.
That matters because the cabinet floor can look relatively fine while the subfloor underneath it is already compromised. Moisture trapped inside a closed cabinet causes mold within 24 to 48 hours. Take ten minutes to assess before you do anything else.
How to Assess Under-Sink Cabinet Water Damage Before Starting Repairs
Clear everything out first. Cleaning products, spare rolls, spare parts — all of it. You cannot assess what you cannot see, and items stored against the back wall can hold moisture against the panel for weeks without anyone noticing.
Then get a flashlight and actually look. Not a quick glance — a proper inspection of every surface.
What to check:
- Cabinet floor: Press it firmly in multiple spots, including corners and edges. If it gives, flexes, or feels soft anywhere, that area has absorbed water and the material has swollen.
- Back and side walls: Look for discoloration. White or chalky mineral deposits mean a slow drip has been happening for a long time. Dark staining means sustained water contact. Black or greenish patches are mold.
- Behind the drainpipe: Use the flashlight to look into the back corner — this area is almost always overlooked and almost always where the slowest drips pool.
- Baseboard and toe kick below the cabinet door: Moisture migrates outward along the floor. If the baseboard feels soft or shows discoloration, the damage has spread outside the cabinet footprint.
Three-tier damage framework — figure out which situation you’re in:
- Surface moisture only — water is present but the cabinet floor is still firm when pressed, no discoloration, no odor. This is manageable with drying alone.
- Swelling and staining — the floor is soft or raised at the edges, visible staining, a mild musty smell. Some materials will need to come out.
- Mold, rot, or subfloor involvement — visible mold growth, panels crumbling when pressed, soft spots that extend to the floor outside the cabinet. This is beyond a wipe-and-dry fix.
Know which tier you’re in before you do anything else.
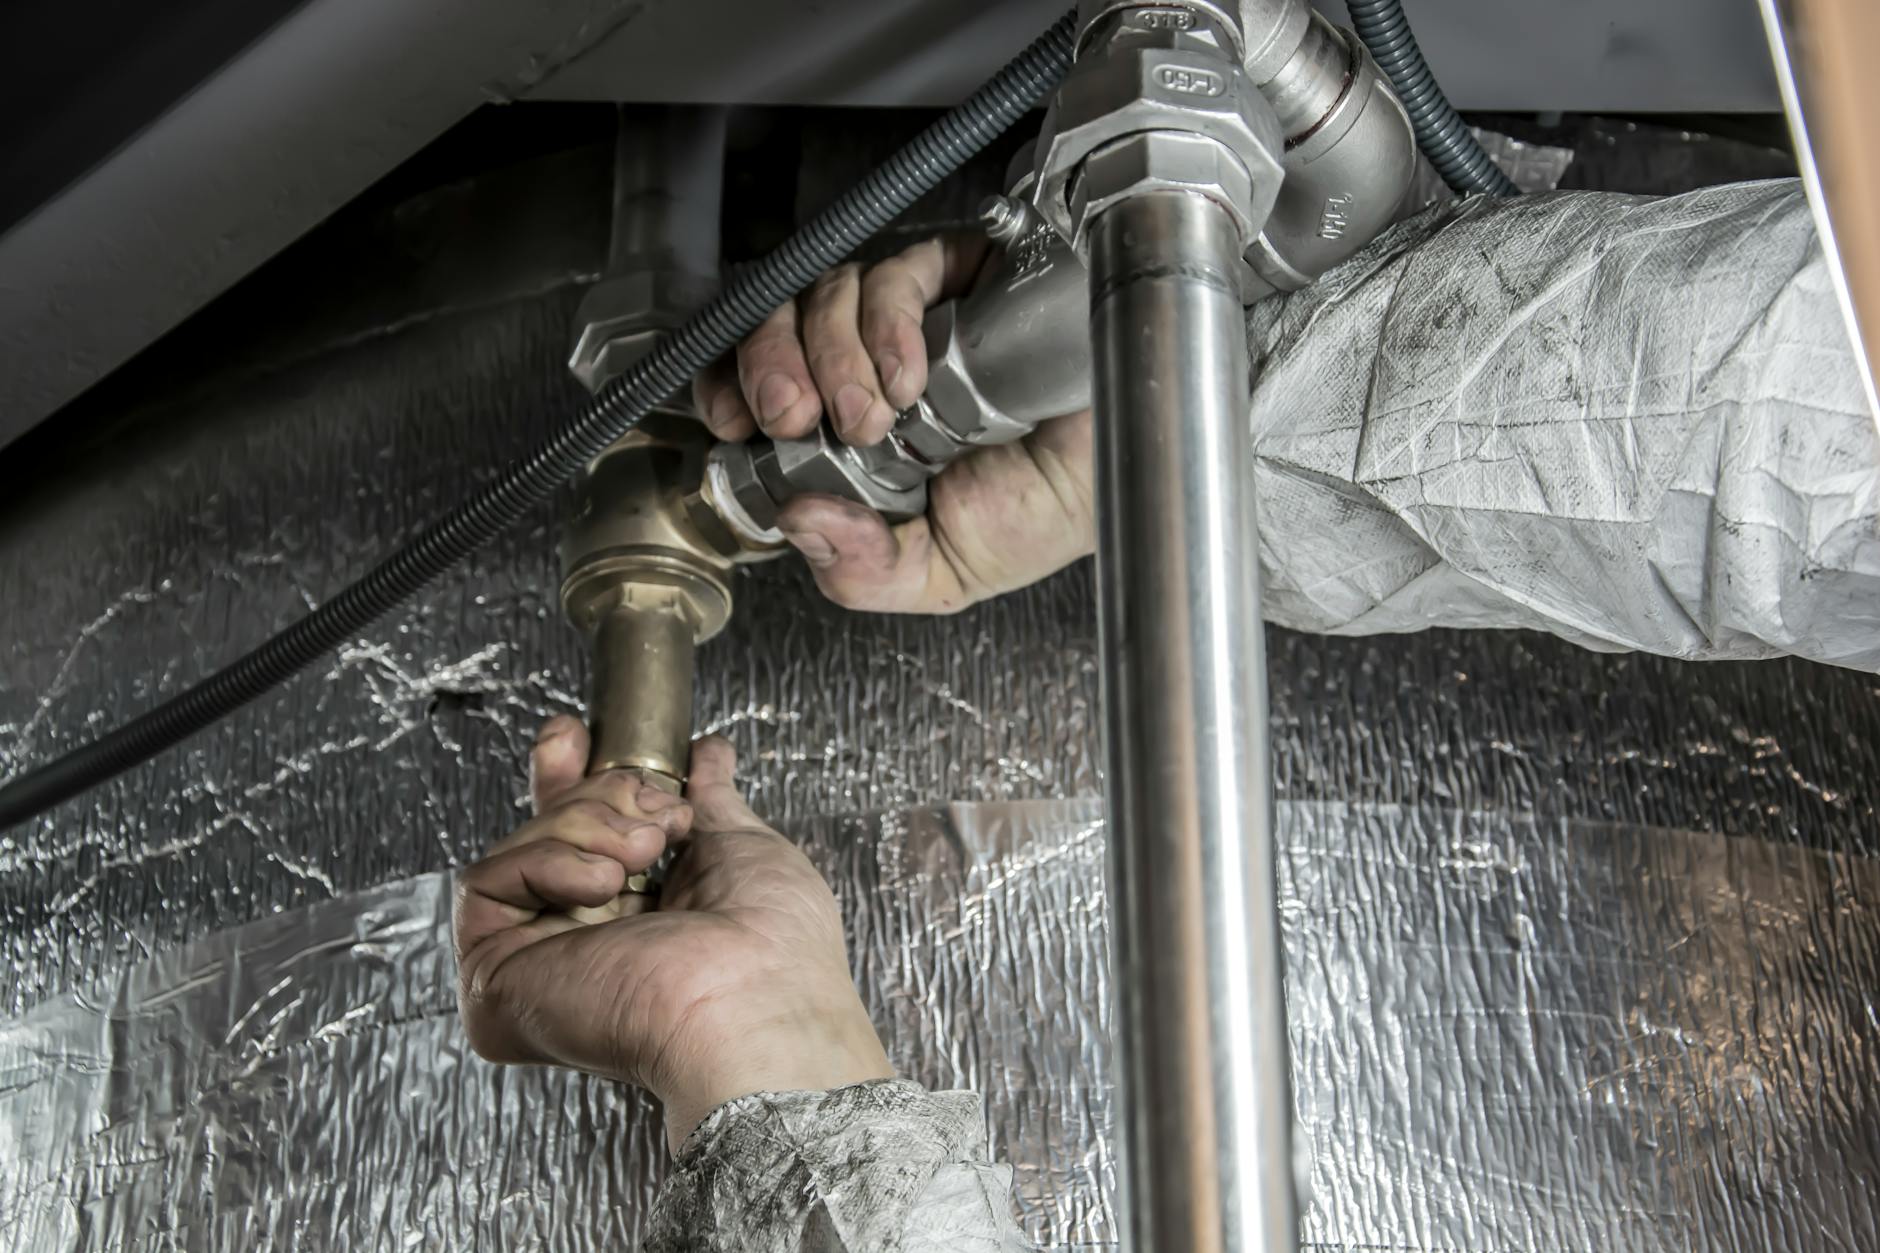
Stopping the Leak First: The Fix That Makes the Repair Last
Do not start drying and repairing until the source is fixed. Dried everything out, repainted the cabinet floor, put everything back — and found the same wet cabinet two months later. Wasted effort. Any under sink cabinet water damage repair that skips this step will fail.
Common sources of under-sink leaks:
- Cracked or aging supply line (the braided or corrugated lines connecting the shutoff valve to the faucet)
- Loose or failing P-trap (the curved drain pipe) slip joints
- Shutoff valve seeping at the stem
- Drain basket seal failure at the sink base
Turn off the shutoff valve under the sink. If the shutoff valve itself is the source, turn off the main water supply instead. Dry the area briefly with a towel, then wait a few minutes and watch for new drips.
If the supply line is cracked, kinked, or older than five to seven years, replace it — do not attempt to patch it. A braided stainless steel supply line is the correct replacement: it resists kinking and holds up far longer than corrugated plastic lines.
If the shutoff valve is weeping at the stem or base, replacement is the right call. Do not keep tightening the packing nut — that is a temporary fix, and it often makes things worse.
If the leak source is inside the wall rather than at visible connections, stop here and call a licensed plumber. That is not a DIY situation.
What You Can Dry Out and Save After Under-Sink Water Damage
Not everything wet has to come out. Here is what is worth saving:
- A cabinet floor that is still firm when pressed, with only surface moisture or minor staining and no odor
- Walls showing surface moisture only — no softness, no discoloration that goes deeper than the surface
- Solid wood components (uncommon in most modern sink cabinets, which are almost always particleboard or MDF — medium-density fiberboard — but worth checking)
If you’re working with solid plywood or wood framing that has not swollen, you have a real chance of saving it. Wipe it dry, disinfect with a diluted white vinegar solution or a mold-inhibiting spray, and then move to the drying protocol below.
Drying protocol:
- Remove all contents and, if accessible, disconnect the P-trap drain assembly to open up airflow inside the cabinet.
- Wipe out any standing water with old towels.
- Point a small fan directly into the open cabinet. Remove the cabinet doors if they are on simple hinges — keeping them open is not as effective as removing them entirely.
- Leave the fan running for a minimum of 24 to 48 hours.
- After drying, press the floor again. It should feel as firm as the adjacent cabinet side walls. If it still flexes, it has not fully dried — or it was already compromised before you started.
How to Dry Out an Under-Sink Cabinet Completely Without Trapping Moisture
This is the step most people get wrong. They wipe out the obvious water, close the door, and walk away. The humidity trapped inside the cabinet then causes mold within a couple of days. Do not do that.
A few things that make a real difference here:
- Do not use a heat gun or hair dryer on particleboard or MDF. It does not speed drying — it causes the surface to buckle and swell faster.
- If the back wall of the cabinet is against an exterior wall or shares a wall with a bathroom, watch for condensation forming even after the obvious moisture is gone. Cold surfaces in those areas promote mold faster than anywhere else in the cabinet.
- Do not lay new shelf liner or a cabinet mat until the surface is confirmed dry. Putting down a mat traps the remaining moisture underneath it.
The most reliable way to confirm the material is actually dry is with a pin-type moisture meter. Basic models are available for under $20 and give you a reading you can trust rather than an estimate based on how things feel. If you are not sure whether the cabinet floor has dried enough to keep or needs to come out, a moisture meter removes the guesswork.
What Must Be Replaced After Under-Sink Cabinet Water Damage
This is where homeowners most commonly under-react during under sink cabinet water damage repair. The damage looks dry and they convince themselves it is fine.
Replace without hesitation:
- Any panel that has swollen — even if it has since dried out. Particleboard and MDF do not return to their original dimensions after swelling. They stay rough, raised, and weakened. They will not hold fasteners or finish reliably.
- Any surface showing visible mold growth. Do not sand or scrub mold on a panel you intend to keep — you are just spreading spores. Contain it and remove the panel.
The cabinet floor (also called the base panel or bottom panel) is the most frequently replaced piece, and in most cases it is a straightforward fix. It sits flat on the cabinet frame and can usually be lifted out once the supply lines and drain assembly are moved aside.
Replacement options:
- Cut a piece of ¾-inch plywood to fit the cabinet opening — plywood holds up to occasional moisture far better than the particleboard that was almost certainly there originally.
- Alternatively, use moisture-resistant MDF if plywood is hard to source in a small piece.
- Before installing the replacement panel, paint or seal all faces and edges with a stain-blocking interior primer before applying your finish coat. The edges are where moisture gets in first.
If the frame itself — the sides, back, and front face frame — is still firm and intact, a floor panel replacement is a job most homeowners can handle in an afternoon. If the frame is also compromised, assess the cost of full cabinet replacement against the cost of repair. At that point, replacement often makes more sense.
When Under-Sink Water Damage Is Worse Than It Looks: Mold and Subfloor Warning Signs
Sometimes the cabinet is not the extent of the problem.
Signs the subfloor is involved:
- Soft or spongy flooring directly in front of the cabinet when you press down with your foot
- Visible discoloration on the floor outside the cabinet footprint
- A gap opening up between the base of the cabinet and the floor
If the floor feels soft from outside the cabinet, the subfloor has absorbed water. That is a structural issue, not a cosmetic one. Stop the cabinet repair and address the subfloor first — or get a professional involved to assess the extent.
Mold identification:
Fuzzy or powdery growth in black, green, or white is mold. A persistent musty smell without visible growth often means mold is on the hidden face of the back panel or inside the wall cavity.
Do not disturb large patches of mold without containment. Agitating mold spreads spores into the air and throughout the cabinet interior.
Two clear rules on when to stop DIY work:
- If visible mold covers more than roughly a 10-square-inch area, or if any portion appears to be inside the wall cavity, contact a remediation professional.
- If the subfloor is soft, stop cabinet-level repair and address the structural issue first.
If the back wall of the cabinet shows discoloration, check whether the drywall behind it has also been affected — that is a separate problem that warrants its own inspection before you close everything back up.
Prevention: How to Avoid Under-Sink Water Damage in the Future
Most of the damage under sinks is not from a sudden burst — it is from a slow drip that went unnoticed for months. That is entirely preventable.
What actually works:
- Check under the sink every three to four months. Pull everything out, use a flashlight, press the floor. Takes five minutes and catches problems early.
- Replace supply lines on a schedule. Braided stainless lines at five to seven years; corrugated copper or brass can last longer but check annually for kinking near the valve connection.
- Install a drip tray or waterproof cabinet liner under the P-trap area. These do not prevent leaks, but they make a slow drip visible — you will see standing water in the tray instead of absorbed moisture in the cabinet floor.
- Check your P-trap slip joints. They should be hand-tight plus about a quarter turn. Overtightening cracks plastic fittings; under-tightening causes slow drips. If you notice why multiple drains are slow at the same time, that points to a deeper issue in the shared drain line rather than individual P-trap connections.
- Keep the cabinet organized so the back is visible. Items stacked against the back wall hide slow drips and hold moisture against the panel. An organized cabinet is one where a drip is visible before it has had weeks to do damage.
Frequently Asked Questions
Can I paint or seal swollen particleboard to save it? No. Once particleboard swells it does not recover its original strength or flatness. Paint and sealer can slow future absorption but cannot restore the panel. Replace it.
How long does it take for mold to grow after under-sink water damage? Mold can begin growing within 24–48 hours in humid conditions. This is why proper drying before closing the cabinet matters — and why under sink cabinet water damage repair should never skip the drying phase.
My cabinet floor is dry now but the surface is rough and raised — does it still need replacing? Yes. Raised and rough-surfaced particleboard has absorbed and then dried unevenly. It will continue to break down and will not hold fasteners or finish reliably.
The damage is just on the floor of the cabinet — can I replace just that panel without replacing the whole cabinet? In most cases, yes. If the frame (sides, back, front face frame) is firm and intact, you can cut a replacement floor panel from plywood and drop it in.
There’s a musty smell but I can’t see any mold — what should I check? Check behind the back panel and underneath any floor liner. Mold grows on the hidden face of panels first. If the smell persists after complete drying, remove the back panel and inspect the area between the cabinet and the wall.
Summary
Under-sink cabinet water damage repair starts with assessment, not cleanup. Know which damage tier you are in, stop the leak before touching anything else, and be honest about what the material can recover from. Particleboard that has swollen does not recover — replace it. Mold that covers more than a small area does not get scrubbed — it gets removed and contained. And a subfloor that feels soft means the problem has gone beyond the cabinet.
The cabinet floor swap itself is manageable for most homeowners. It is the diagnosis and honest triage that most people skip — and that is almost always where the real mistake happens.

DIY Home Repair & Plumbing

