
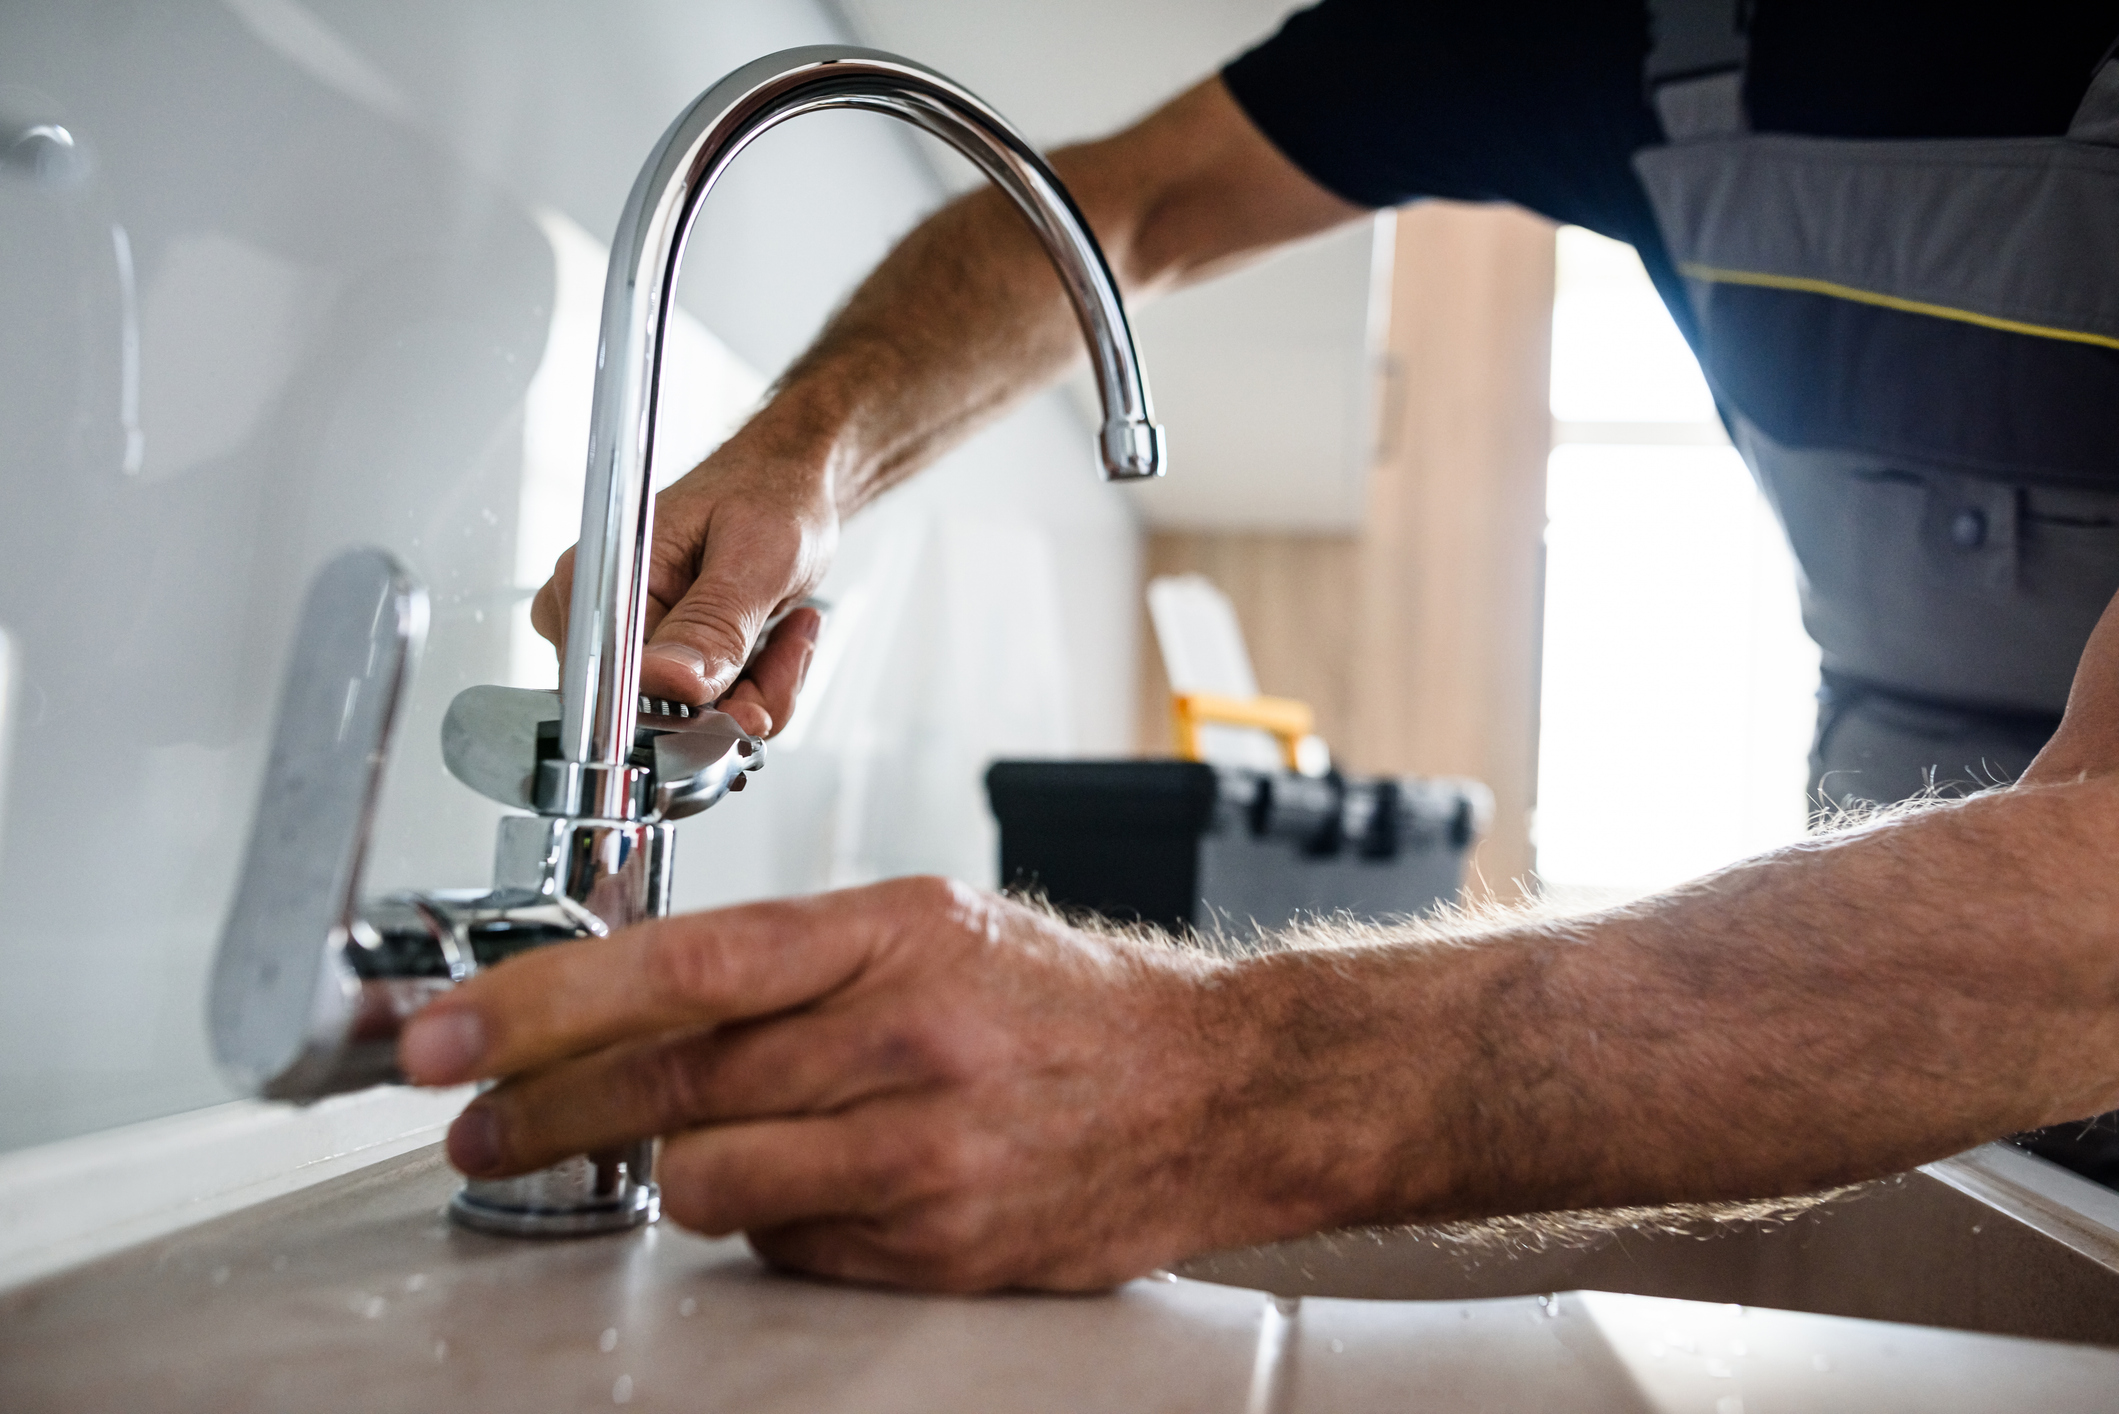
The fastest way to fix a dripping single-handle ball faucet is to replace the worn seats, springs, ball, and O-rings in one pass. This is a beginner-to-intermediate DIY repair that takes 45–90 minutes with the right parts in hand. The one thing that saves most homeowners a second hardware store trip: buying a manufacturer-matched repair kit before you start, not a universal kit pulled off the shelf at random.
Disclosure: This article contains affiliate links. If you purchase through these links, we may earn a small commission at no extra cost to you. As an Amazon Associate, we earn from qualifying purchases.
How a Single-Handle Ball Faucet Works (and Why It Drips)
A ball faucet controls both water flow and temperature through a single rotating slotted ball seated inside the valve body. When you move the handle, the ball rotates to open or close ports that let hot and cold water through. The ratio of hot to cold depends on the ball’s position — which is why one handle does the job of two.
The key internal components are:
- The ball — a hollow sphere with a slot and inlet ports
- Two rubber seats — small discs that press against the ball and form the water seal
- Two springs — sit beneath each seat and keep them pressed firmly against the ball
- A cam and packing — plastic piece and rubber ring above the ball that support handle movement
- Two O-rings — sit on the faucet body (spout sleeve area), not inside the valve
Dripping from the spout almost always means the seats and springs are worn, or the ball itself is pitted or cracked. Mineral deposits accelerate this wear — even a fine groove on the ball surface breaks the seal.
Leaking around the base of the spout or handle points to failed O-rings on the faucet body. These are a separate failure, but they often happen alongside worn seats and springs.
This is why buying a full repair kit — not just springs, not just seats — matters. A complete kit addresses all the parts that commonly fail at once.
Tools and Parts You Need Before You Start
Tools
- Phillips and flathead screwdrivers
- Adjustable wrench or slip-joint pliers
- Allen wrench set (most ball faucets use 1/8″ or 3/32″ hex for the handle set screw)
- Needle-nose pliers (for pulling seats and springs out of the valve body ports)
- Utility knife or pick tool
- Silicone-based plumber’s grease
- Clean rag or towel
- Drain plug or rag to cover the drain opening (springs are small and disappear fast)
Parts
Buy a brand-specific ball faucet repair kit. Delta, Moen, Price Pfister, and American Standard are the most common brands in U.S. kitchens. Brand kits include the correct ball, cam, packing, seats, springs, and O-rings — all sized and matched to your faucet body.
Universal kits exist but fit inconsistently. If a seat is slightly the wrong size, you’ll still have a drip after a full repair. If the brand name is visible on the faucet body or handle, match the kit to it. Check the underside of the faucet near the base or the handle collar if the label isn’t obvious.
A representative all-in-one option is the Delta RP3614 Repair Kit, which includes the ball, cam, seats, springs, and O-rings for standard Delta ball faucets. If your faucet is a different brand, search by brand name + “ball faucet repair kit” to find the matching part number.
How to Disassemble a Dripping Single-Handle Ball Faucet
Work through these steps in order. Each one sets up the next.
1. Shut off the water supply. Turn both shut-off valves under the sink clockwise until they stop. Open the faucet handle to release line pressure and drain remaining water. (Water stops flowing within a few seconds.)
2. Remove the handle. Pry off the decorative cap on top of the handle with a flathead screwdriver. Remove the set screw underneath with the appropriate Allen wrench (usually 1/8″ or 3/32″). Lift the handle straight up off the stem. (Handle slides off cleanly with no resistance.)
3. Remove the collar and cap. Unscrew the collar nut (also called the packing nut or adjusting ring) with pliers. Wrap the jaws with tape or a rag first to protect the faucet finish. Lift off the plastic dome cap underneath. (The top of the ball and cam assembly is now visible.)
4. Remove the cam and packing. Lift out the plastic cam piece and its rubber packing ring. Note the orientation — the cam has a tab that aligns with a notch in the faucet body. You’ll need to match that on reassembly. (The slotted ball is fully exposed.)
5. Remove the ball. Lift the ball straight out of the valve body. Inspect it carefully. Pitting, grooves, or cracks mean it needs replacing — even small surface damage breaks the seal against the seats. (Ball lifts out cleanly; two recessed seat/spring ports are visible in the body below.)
6. Extract the seats and springs. Use needle-nose pliers or a small pick to pull each rubber seat disc and its spring out of the valve body ports. Plug the drain before this step — the springs are small and will disappear into an open drain. (Two seats and two springs removed; valve body ports empty and clean.)
Replacing the Ball, Seats, Springs, and O-Rings
This is the core of the fix. Work through these steps before reassembling anything.
1. Replace the seats and springs. Drop a new spring into each port, narrow end down. Place a new rubber seat disc on top of each spring and press gently with a fingertip until it sits flush. If a seat wobbles or sits crooked, the spring isn’t seated properly — pull it out and reset.
2. Replace the O-rings on the faucet body. Locate the two O-rings on the exterior of the valve body, in the grooves where the spout sleeve sits. Slice the old ones off with a utility knife, being careful not to nick the faucet body. Roll new O-rings into the grooves. Before installing, coat each new O-ring lightly with silicone plumber’s grease — this prevents tearing during reassembly and extends the life of the seal.
Use only silicone-based grease. Petroleum-based products degrade rubber and will cause premature failure. A small tube of silicone plumber’s grease costs a few dollars and lasts through multiple repairs.
3. Install the new ball. Lower the new ball into the valve body. Align the slot on the ball with the small pin inside the faucet body — most Delta-style faucets have this locating pin visible inside the cavity. Misalignment prevents the handle from operating correctly and can cause a drip even with new seats installed.
4. Reinstall the cam and packing. Place the rubber packing ring onto the cam piece. Lower the cam over the ball, matching the tab on the cam to the notch in the faucet body. Press down gently until it seats flat.
Reassembling and Testing Your Repaired Ball Faucet
1. Thread the collar nut back on. Hand-tighten first to make sure it’s threading straight, then snug it with pliers. Do not overtighten — the goal is a leak-free compression fit, not maximum force. Overtightening can crack the plastic cap or distort the seat contact.
2. Reattach the handle. Slide the handle back onto the stem, tighten the set screw with the Allen wrench, and snap the decorative cap back into place.
3. Turn the water supply back on slowly. Open both shut-off valves gradually — a quarter turn, pause, then continue. Keep the faucet handle in the off position while you restore pressure. A slow open prevents a pressure surge that could dislodge the new seats.
4. Test for dripping and leaks. Turn the faucet on and off several times. Leave the handle in the off position and watch the spout for 5–10 minutes. Check the base of the spout and the handle area for moisture. (Expected result: no drip from the spout, no seeping at the base or handle.)
5. If a slow drip continues after 10 minutes: Shut off the supply valves again. Confirm both seats are fully flush in their ports. Check that the ball slot is engaged on the body pin. If everything looks correct, re-snug the collar nut by a quarter turn and retest.
When Fixing a Dripping Ball Faucet Is Not Enough
A repair kit fixes rubber and moving parts — it cannot fix the faucet body itself. Know when to stop and replace.
- Visible pitting or corrosion on the valve seat area (the machined metal surfaces inside the body that the rubber seats press against) means the repair will not hold. Those surfaces need to be smooth for the seal to work. Deep corrosion means the body is done.
- Dripping continues after two correct repair attempts with brand-matched parts. If you’ve installed the parts properly twice and still have a drip, the valve body is worn past what rubber components can compensate for.
- Faucet is 15–20 or more years old with visible finish wear, mineral scaling on the body, or a handle that wobbles after the set screw is tight. At that age, the cost of a new faucet is usually lower than repeated repair attempts.
- Shut-off valves under the sink won’t close fully. If you can’t get full shutoff, you can’t safely do this repair. Valves that are stuck or leaking through need to be replaced first — and in some cases warrant a licensed plumber if the valves are soldered in or corroded at the supply line connections.
Frequently Asked Questions
Can I reuse the old ball if it looks undamaged? You can, but it is rarely worth the risk. If the ball has any fine pitting or surface wear that is easy to miss under kitchen lighting, a new drip will start within weeks. Replacement balls are included in every brand-matched repair kit — use the new one.
Do I need to replace every part in the kit or just the worn ones? Replace everything in the kit in a single pass. Seats, springs, and O-rings degrade together from the same mineral exposure and wear cycle. Installing all components now means you will not need to open the faucet again for years.
How long should a ball faucet repair last before the drip returns? A correct repair with brand-matched parts typically holds three to five years under normal use. Homes with hard water may see shorter intervals. Installing a faucet-mount filter or whole-house water softener extends the life of rubber components significantly.
How do I identify my faucet brand if there is no visible label? Check the underside of the faucet body near the base, the handle collar, or the escutcheon plate. If nothing is stamped there, search the faucet’s model number — often printed on the original packaging or listed in building permits for newer construction — against manufacturer part databases. A plumbing supply store can sometimes identify the brand from the faucet’s physical profile.
When the repair is done right, the results are straightforward: the handle moves smoothly through its full range, no drip comes from the spout with the handle off, and there is no moisture around the spout base or under the sink after 24 hours. A complete ball faucet repair kit runs $10–$25 and replaces every part that commonly fails in one pass. Most homeowners finish this repair in well under an hour once they have the correct kit — and the same process applies whether the dripping single-handle ball faucet is in the kitchen or a bathroom. If you find yourself doing plumbing repairs regularly, a reliable drill and driver set is a worthwhile addition to your toolkit for the broader range of home fixes that inevitably follow.

