
Ceiling cracks make most homeowners nervous — and understandably so. But when it comes to ceiling crack patterns, cosmetic vs serious is the real diagnostic question, and the answer has less to do with how long or wide a crack is than what shape it takes and where it runs. Understanding ceiling crack patterns — cosmetic vs serious — starts with recognizing that orientation and displacement reveal cause, while size does not. Most cracks you’ll find are completely harmless. A small category genuinely needs professional attention. The difference is visible if you know what to look for.
Disclosure: This article contains affiliate links. If you purchase through these links, we may earn a small commission at no extra cost to you. As an Amazon Associate, we earn from qualifying purchases.
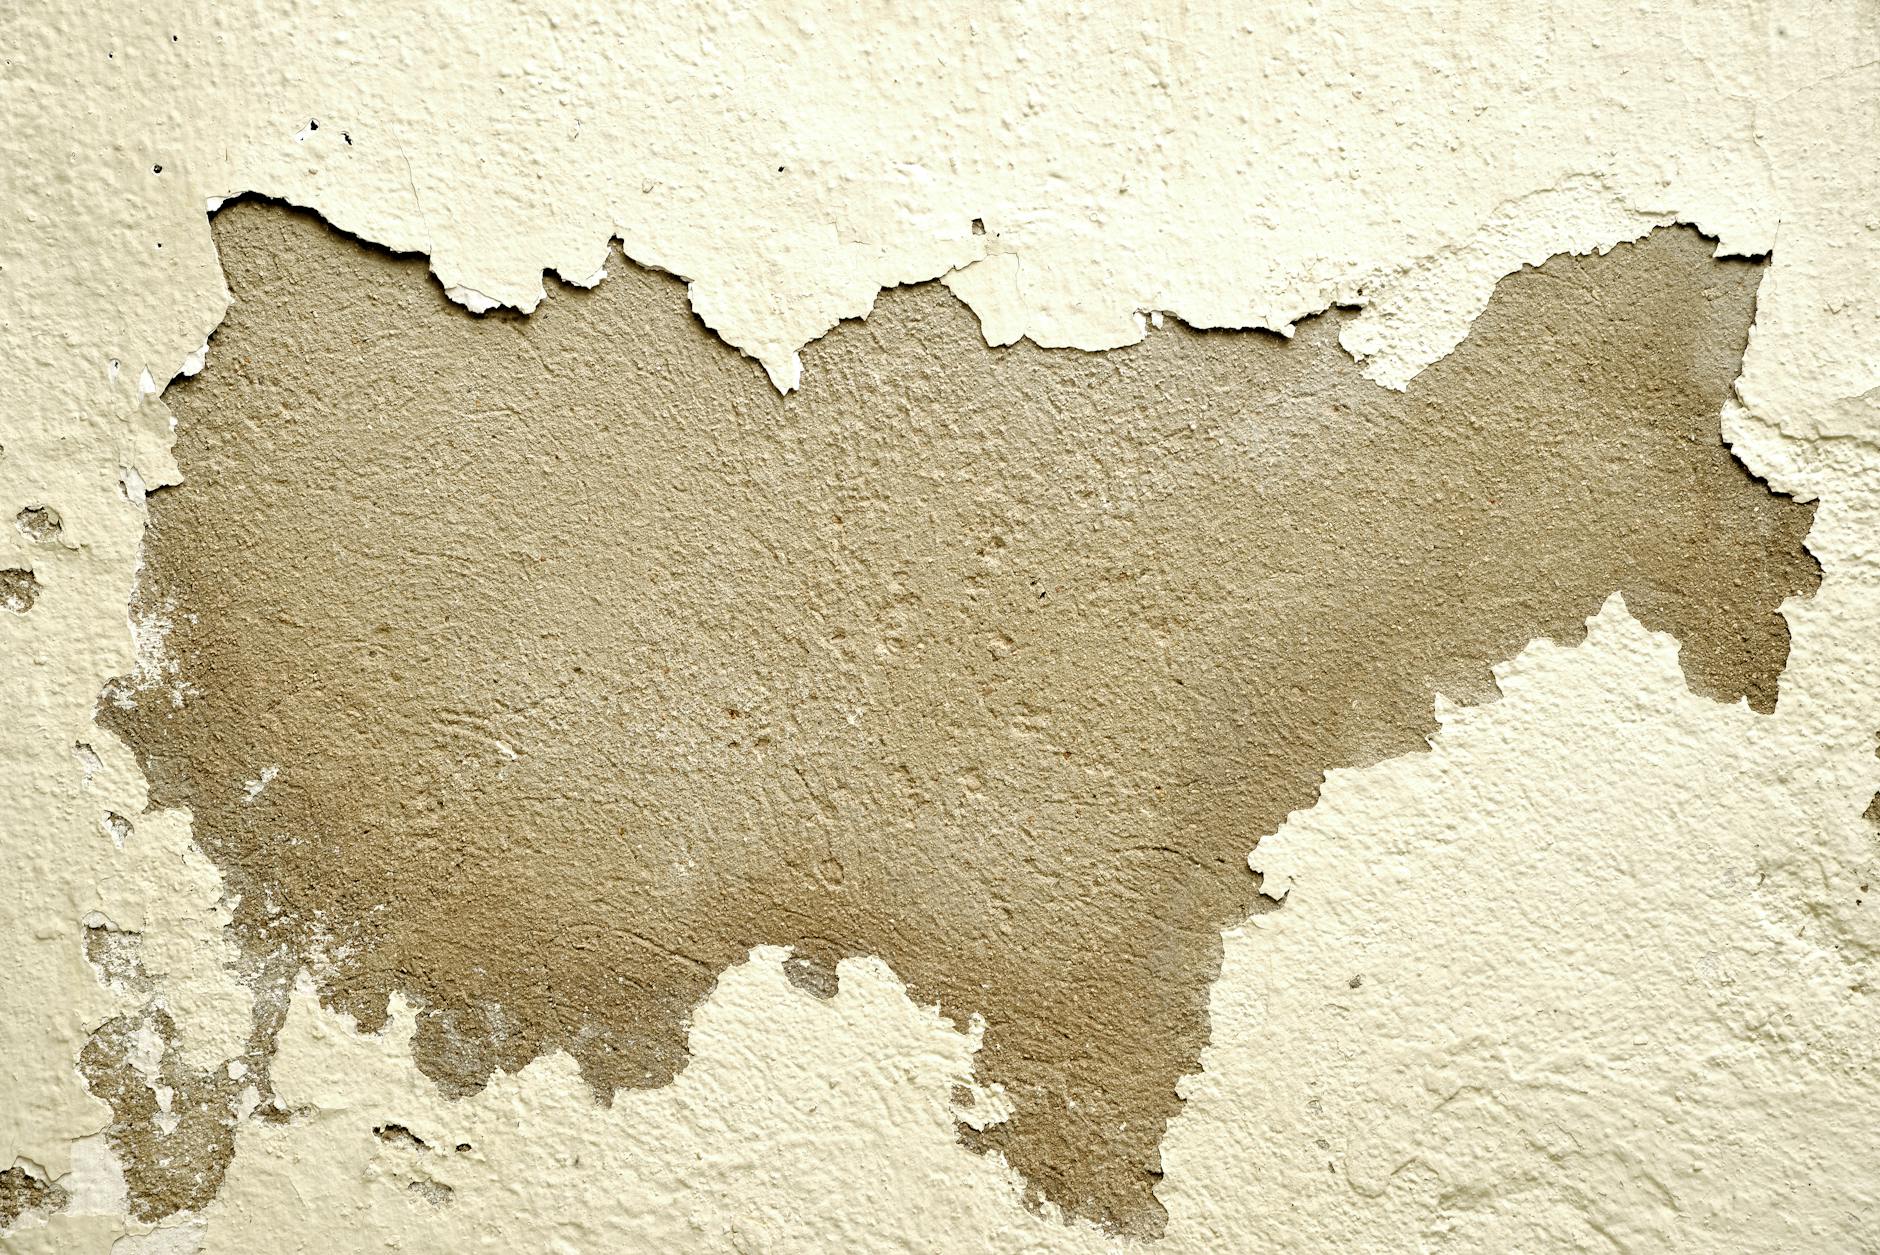
Why Ceiling Crack Patterns Matter More Than Size
The first thing most people do when they spot a ceiling crack is measure it. That instinct makes sense, but size is actually one of the least reliable signals you can use. A 14-inch crack along a drywall seam can be completely cosmetic. A 3-inch crack with a visible step across the edges can indicate structural movement.
What actually matters is pattern: the orientation of the crack, whether the edges are flush or displaced, whether it crosses a structural joint, and whether it originates at a stress point like a window or door corner. These features reveal the underlying mechanical cause — and there are really only two categories to understand.
The first is movement within the finish layer — the paint, skim coat, drywall tape, or joint compound. This is cosmetic. The second is movement within the structure itself — framing, joists, load paths, or the substrate the finish sits on. That’s where problems live. Same 12-inch crack, two completely different situations depending on pattern.
Cosmetic Ceiling Crack Patterns: Types You Can Safely Repair Yourself
These patterns account for the majority of what homeowners find. Each has a recognizable shape and a set of confirming signs you can check before picking up a tool.
Hairline Cracks Running Along Drywall Seams
These appear directly over taped joints — the lines where two sheets of drywall meet. They run straight and parallel to the seam below, and they’re among the most common ceiling crack types in homes over five years old.
The cause is usually tape bond failure or joint compound that has dried and shrunk slightly over time. The confirming signs are that the crack is thin and even, runs only along the seam line, and has no displacement — both edges sit at the same height. Re-taping the seam and applying fresh compound is the standard fix.
Spider Web and Crazing Patterns
This pattern looks like a fine network of cracks spread across a patch of ceiling — not radiating from one point, just covering an area. The technical term is crazing.
It’s almost always a paint or surface issue: too many layers of paint, paint applied over an incompatible primer, or age on an older plaster ceiling. The key confirming sign is that the cracks are shallow — in the surface layer only, with no depth and no displacement. Press gently near the crack. If the surface feels solid, it’s cosmetic.
Short Hairline Cracks Parallel to Joists
These run in one direction across a ceiling span — short, non-continuous, and fairly consistent in spacing. They follow the direction of the framing joists above.
Seasonal wood movement is the usual cause. As humidity rises and falls through the year, framing expands and contracts, and that movement shows up in the finish layer below. The confirming sign is that these cracks tend to appear or worsen at certain times of year, don’t cross from ceiling to wall, and show no displacement.
Small Isolated Cracks at Ceiling Corners
These appear at the junction where ceiling meets wall, typically at room corners. New homes and recently renovated spaces are especially prone to this as structure settles and materials cure. The confirming sign is that the crack is straight, roughly symmetrical, and shows no displacement. A fresh bead of waterproof silicone caulk usually handles it.
Once you’ve confirmed a cosmetic pattern with none of the secondary warning signs below, repair is straightforward. Seam cracks need joint compound and possibly new tape; crazing requires a bonding primer first. A drywall patch kit covers most cosmetic repairs in one package. For a deeper look at which products actually perform, see Best Patching Compounds and Tapes for Ceiling Crack Repair: What Actually Works before you head to the hardware store.
Ceiling Crack Patterns That Are Serious: Structural Warning Signs
These patterns are less common, but knowing what they look like means you won’t accidentally patch over something that needs a different response.
Diagonal Cracks Running from Corners of Door or Window Openings
If a crack starts at the corner of a door or window rough opening and runs at roughly 45 degrees toward the ceiling field, pay attention. This pattern is associated with differential settlement, lintel failure, or stress at a load point. The confirming signs are that the crack tends to widen at one end and often reappears after patching because the underlying movement hasn’t stopped.
Cracks With Visible Displacement
This is the single most important pattern signal in this guide. Displacement means the two edges of the crack are not flush — one side sits higher or lower than the other. That step means the structure on either side has moved relative to itself.
A wide, flat crack with no displacement is less concerning than a narrow crack with even a slight ridge. Run your fingertip slowly across the crack. If you feel a step — any step — treat it as a structural signal until you have a clear reason to believe otherwise.
Long Cracks That Cross from Ceiling to Wall
A crack that starts on the ceiling and continues down the wall without stopping at the joint is a red flag. Cosmetic cracks almost always stop at the ceiling-wall junction because they’re in the finish layer. A crack that crosses that junction without interruption suggests movement affecting the full assembly. Trace the full path: if it crosses continuously, treat it as structural until proven otherwise.
Multiple Radiating Cracks from a Single Point
Radiating cracks have a clear center point and extend outward along structural lines — like a starburst. This is different from the crazing pattern described above, which spreads across a surface without a defined origin. A clear center point can indicate localized overload, a point load above the ceiling, or impact damage. The origin point is the distinguishing feature.
If any of these patterns describe what you’re seeing, the next step is understanding when it ceiling crack needs a structural engineer and when a drywall repair is sufficient.
Secondary Warning Signs That Escalate Any Ceiling Crack
Some cracks look cosmetic by pattern but sit alongside other symptoms that change the diagnosis. Watch for these:
- The crack is growing. Mark both ends with a pencil, write the date, and check back in two to four weeks. A crack that has extended is active and needs professional evaluation regardless of pattern.
- Sagging or bowing near the crack. If the ceiling surface curves down or appears to be separating from the substrate, that is a potential fall hazard. Do not delay. See Crack in Ceiling With Sagging or Bowing: What to Do Before You Touch Anything for the right steps to take first.
- Water staining alongside the crack. Moisture changes everything. Address the water source first — roof, plumbing, or condensation above. The crack is secondary.
- Doors or windows sticking around the same time the crack appeared. Correlated movement elsewhere in the home suggests the crack isn’t isolated.
- The crack is directly below a known load-bearing wall. Location relative to load paths matters and warrants closer attention.
How to Examine a Ceiling Crack: A Practical Diagnosis Method
Reading a ceiling crack well takes about five minutes. Here’s how to do it properly.
- Use raking light. Hold a flashlight at a low angle, parallel to the ceiling surface. Overhead light hides texture and displacement. Raking light makes both visible immediately.
- Trace the full path. Follow the crack completely from start to finish. Note where it begins, where it ends, and whether it changes direction or crosses the wall junction.
- Check for displacement manually. Run a fingertip slowly across the crack perpendicular to its length. You’re feeling for a ridge or step — your fingertip is more sensitive than your eyes for this.
- Photograph and date it. Before doing anything else, take a photo with a ruler in frame. This is your baseline for monitoring and useful if a contractor is needed.
- Check the room above and note orientation. Is the crack parallel to a seam, diagonal from a corner, or crossing to the wall? Is it below a bathroom, heavy furniture, or a plumbing run? Orientation and what’s above are both diagnostic signals.
What to Do After Identifying Your Ceiling Crack Pattern: Cosmetic vs Serious
If the Pattern Is Cosmetic
Confirm that none of the secondary warning signs are present. If the crack is clean, not growing, not displaced, and not accompanied by staining or sagging, you’re in DIY territory.
The repair approach depends on the pattern. Seam cracks need the tape re-set and fresh joint compound in thin coats. Crazing needs a bonding primer first — otherwise new paint will crack again for the same reason. Corner cracks typically need caulk and paint.
If the Pattern Is Structural — or You’re Not Sure
Do not patch over it. Filling a structural crack hides it and makes future monitoring useless.
If the crack is displaced, growing, or accompanied by secondary warning signs, use the structural vs. DIY decision framework to determine whether a professional inspection is the right next step. A structural engineer visit is a defined, bounded service — an inspection and written assessment. It does not automatically mean expensive repairs. If the pattern falls in a gray area, give it two to four weeks of monitored observation before deciding. A crack that stays stable over a month in varied conditions is a much lower-priority concern than one that’s visibly changing.
Most ceiling cracks homeowners find are cosmetic. The ones that aren’t almost always come with additional signals — if you know to look for them.
Conclusion
Pattern and displacement tell you more than size. A crack’s shape, orientation, and whether its edges are flush reveal what caused it — and that determines what you do next.
Cosmetic patterns — seam cracks, crazing, seasonal hairlines, corner failures — are common and repairable with basic materials. Structural patterns — diagonal cracks from openings, displaced edges, continuous ceiling-to-wall cracks, radiating starburst patterns — need a different response. Secondary warning signs like active growth, sagging, staining, or correlated movement elsewhere in the home can escalate any crack regardless of pattern.
Use raking light, trace the full path, and check for displacement with your fingertip before you touch anything. That five-minute process will give you a clear read on almost any ceiling crack you find — and tell you whether to pick up joint compound or pick up the phone.
Frequently Asked Questions
Is a hairline crack in my ceiling something to worry about? Hairline cracks are almost always cosmetic, but orientation matters. A hairline crack along a drywall seam is a different situation from one running diagonally from a window corner.
How do I tell if a ceiling crack is structural? Look for displacement — a step across the crack edge when you run your finger over it. Also watch for diagonal orientation from structural openings, continuous crossing from ceiling to wall, or a starburst pattern radiating from a single point.
Can a ceiling crack get worse over time? Yes. Mark both ends with a pencil and check after a few weeks. A crack that grows is active and needs professional evaluation regardless of how it looks.
What does a spiderweb pattern on my ceiling mean? Crazing is almost always a paint or skim coat issue — too many layers, incompatible materials, or age. It’s cosmetic and addressed by stabilizing the surface layer before repainting.
Do new homes get ceiling cracks? Yes. Settlement in the first few years and drywall compound shrinkage are both normal. Seam cracks and corner cracks in newer homes are usually cosmetic.

DIY Home Repair & Plumbing

