
If you’re searching for the best patching compounds for ceiling cracks, you’ve already made the decision to fix it yourself. Good. Most ceiling cracks are cosmetic or minor settlement issues that any homeowner can handle with the right products and a little patience. The problem is that the wrong product choice — which is extremely common — means the crack comes back within a season and you’re doing it all over again.
This guide will help you match the right product to your specific crack before you spend a dollar.
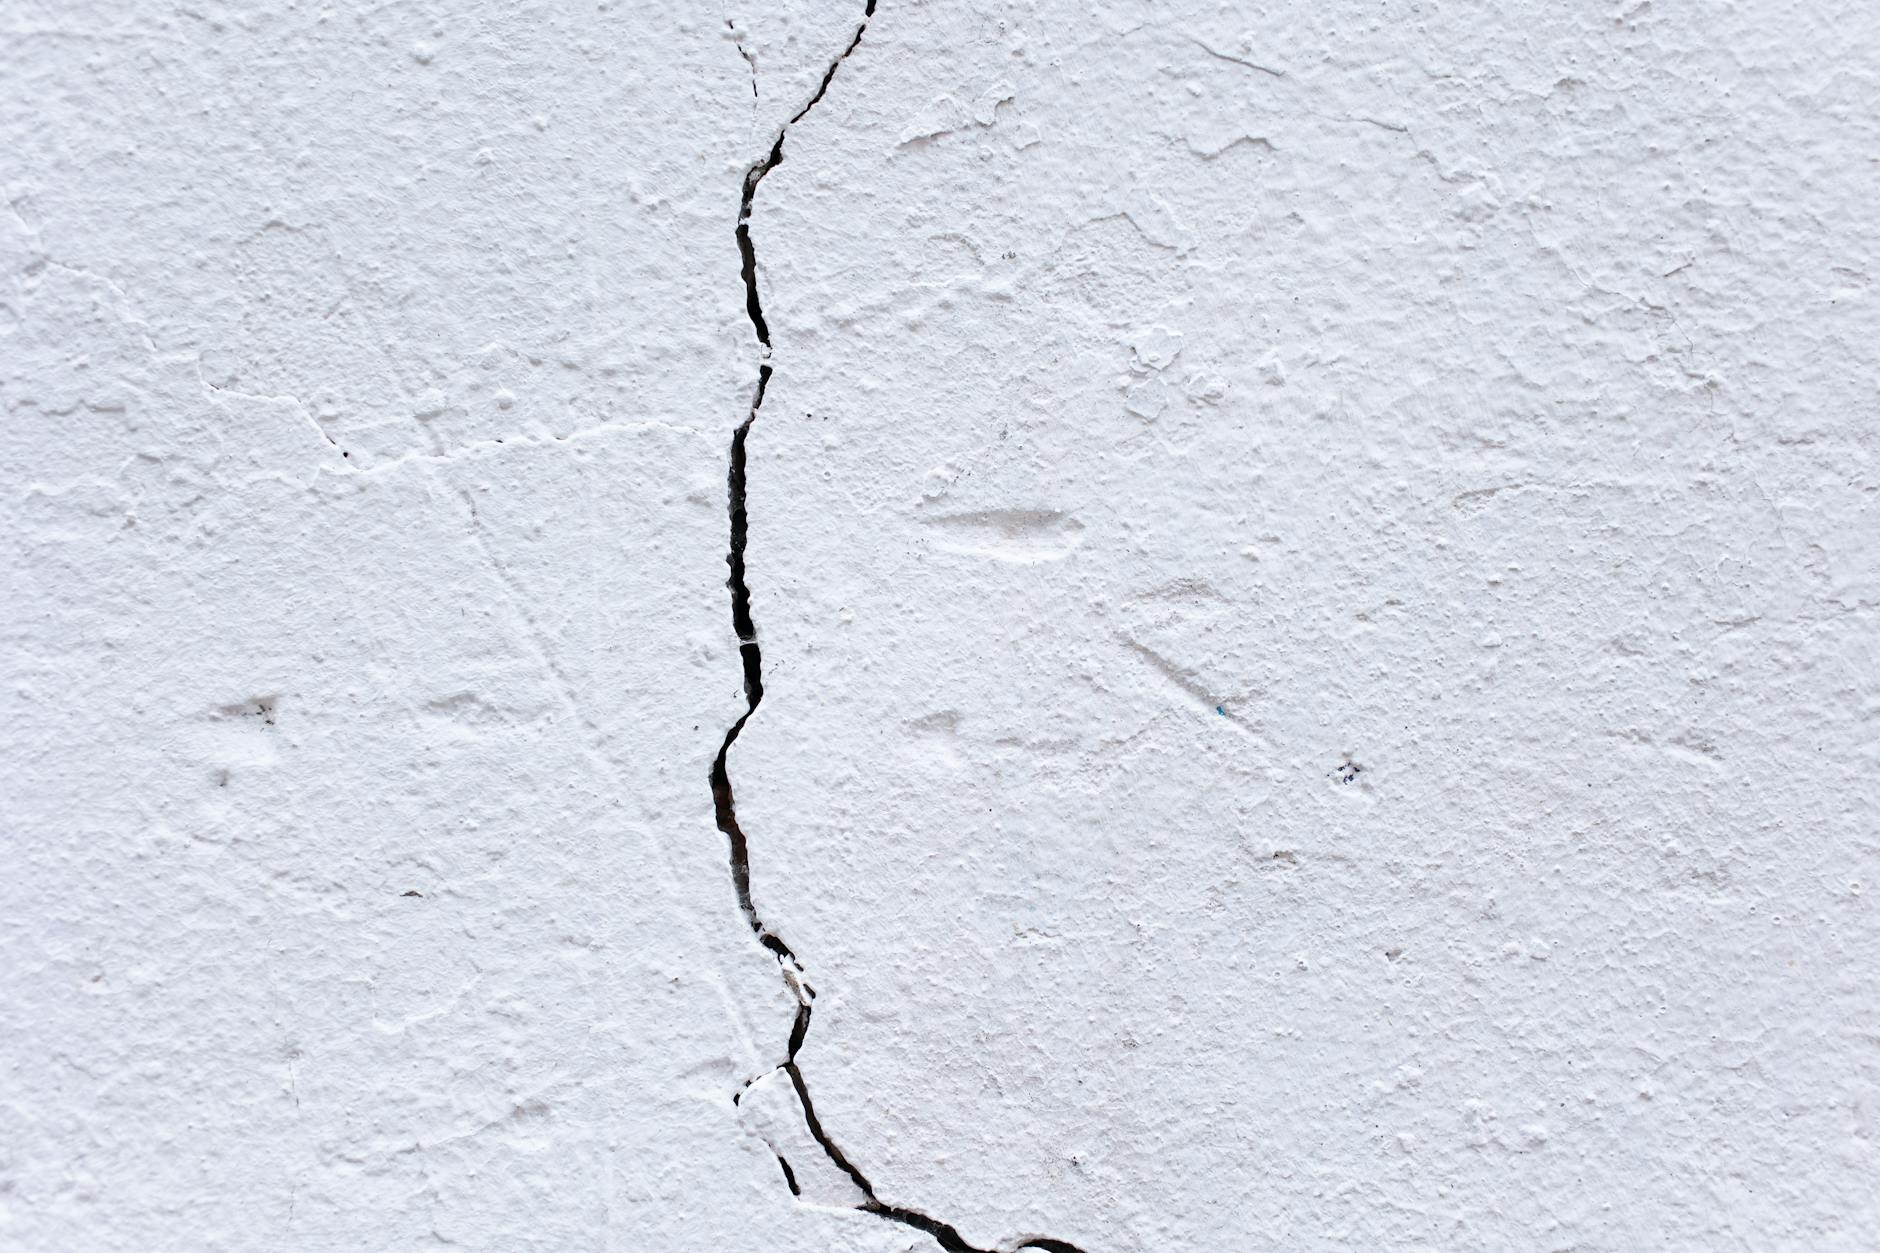
One thing first: If your ceiling crack is accompanied by sagging, bowing, or appeared suddenly after a water leak, stop and assess the structural situation before you touch anything. That’s a different problem entirely and patching compound won’t fix it. This guide covers stable, non-structural cracks only.
Disclosure: This article contains affiliate links. If you purchase through these links, we may earn a small commission at no extra cost to you. As an Amazon Associate, we earn from qualifying purchases.
Why the Wrong Patching Compound Makes Ceiling Cracks Come Back
Ceilings aren’t static. They flex with seasonal temperature and humidity changes, vibrate from foot traffic above, and shift slightly as a house settles over time. A patching compound that dries completely rigid will crack again — often within the first heating or cooling season — because it can’t accommodate that movement.
Standard lightweight spackling is the most common wrong choice. It dries fast and sands easily, which feels like a win, but it bonds poorly on overhead surfaces and has no flexibility. Use it on anything wider than a hairline crack and you’re replaying the same repair next year.
Before you buy any ceiling crack repair products, identify these five things about your crack:
- Crack width: Hairline (under 1/16 inch) or wider than 1/8 inch? Width determines whether you need tape.
- Crack behavior: Is it stable or actively growing? A growing crack is a cause problem, not a product problem.
- Ceiling material: Drywall or plaster? These require different base compounds.
- Crack location: Along a seam (where two drywall panels meet) or through the middle of a panel?
- Your finish skill level: Some products are unforgiving. If you’re new to this, that matters.
Answer those five questions and the product decision becomes straightforward. Skip them and you’re guessing.
When the behavior column says “active or growing crack,” no amount of compound will solve the underlying issue — find and fix the cause before applying anything.
Joint Compound vs. Spackling: Which Patching Compound Actually Works on Ceiling Cracks
This is the core decision. Here’s how each product category performs overhead.
All-Purpose Pre-Mixed Joint Compound
This is the professional standard for ceiling repairs that involve tape. It bonds reliably, feathers smoothly for an invisible finish, and is widely available. The one catch: it shrinks slightly as it dries, so plan on two thin coats rather than one thick one.
Best for: Seam cracks, wide cracks, any repair that requires tape reinforcement.
A reliable option here is USG Sheetrock All-Purpose Joint Compound, which is a go-to for drywall seam repairs and ceiling patches alike.
Lightweight Spackling
Fast-drying and easy to sand. Fine for tiny pinholes and isolated hairline cracks with no history of movement. Do not use it for taped repairs or anything along a seam — it dries brittle and isn’t strong enough to bridge a joint that flexes.
Best for: Pinholes and very minor hairlines only. Not a ceiling crack filler that lasts under any stress.
Flexible / Crack-Specific Filler
Products like DAP Elastopatch are formulated to flex slightly after curing, which is exactly what you need for a settlement crack that may continue to move a small amount. Adhesion overhead is better than spackling, making this one of the best patching compounds for ceiling cracks that show minor ongoing movement.
Best for: Stable hairline to medium cracks in drywall ceilings that aren’t along a seam.
DAP Elastopatch Flexible Patching Compound fits this use case well and is widely available at home improvement stores.
Setting-Type Compound (Powder)
Durabond and similar setting compounds harden by chemical reaction rather than water evaporation. That means almost no shrinkage and exceptional strength. The downside: very hard to sand once set, and unforgiving if overworked.
Best for: Plaster ceiling repairs, large voids, and anchoring loose areas before applying finish coats. Not a beginner product.
Quick recommendation framework:
- Hairline crack, drywall, no seam → flexible filler, no tape needed
- Crack along a drywall seam → all-purpose joint compound + tape
- Plaster ceiling, any crack → setting compound base coat, skim with all-purpose
- Active or growing crack → don’t patch yet; find the cause first
Best Patching Compounds for Ceiling Cracks by Crack Type
Rather than ranking products in a vacuum, here’s which ceiling crack repair products fit each situation.
Hairline and Fine Cracks in Drywall
A flexible patching compound is the right call here. It handles the slight movement that causes hairline cracks to reopen and doesn’t require tape for narrow cracks. Among the best patching compounds for ceiling cracks in this category, DAP Elastopatch is a well-regarded ceiling crack filler that lasts in this specific scenario — it won’t pop or re-crack the way rigid spackling does.
Seam Cracks and Wider Cracks in Drywall
DAP 10102 wallboard joint compound is a reliable drywall patching compound for ceiling seam repairs. Apply in thin coats — never try to fill a wide crack in a single pass. Two thin coats with sanding between them will always outperform one thick coat.
Plaster Ceilings
Use a setting compound like USG Durabond 90 to fill and stabilize, then skim over it with all-purpose joint compound for the finish layer. Plaster repairs require more surface prep than drywall — cut away any loose or soft material before applying anything. The best patching compounds for ceiling cracks in plaster are two-step: Durabond for the base, all-purpose for the finish.
Who Should Not Buy Ceiling Crack Repair Products Right Now
If the crack is actively growing, reappearing after repeated patches, or showed up after a water event, no drywall patching compound solves the problem. The compound is cosmetic. The cause is structural or moisture-related, and that must be addressed first.
Best Tape for Ceiling Cracks: Paper vs. Fiberglass Mesh
Tape is required whenever a crack runs along a drywall seam or is wider than about 1/8 inch. Without tape, the compound is spanning unsupported space. As the substrate flexes even slightly, that unsupported compound cracks. Tape bridges the gap so the repair has something to bond to.
Paper Tape vs. Fiberglass Mesh Tape
| Paper Tape | Fiberglass Mesh Tape | |
|---|---|---|
| Tensile strength | Higher | Lower — compound can crack through |
| Ease of use | Harder — must embed in wet compound | Easier — self-adhesive |
| Best use | Seam cracks, flat long cracks | Small patch areas, non-seam locations |
| Ceiling suitability | Preferred for seam cracks | Acceptable for mid-field patches |
On ceilings, paper tape is more reliable for seam cracks. Mesh tape can allow the compound to crack through the weave under stress, which defeats the purpose. Paper tape requires embedding into a wet bed of joint compound — it won’t stick on its own, which is why it intimidates beginners. Take time with it and it holds far better long-term.
Paper drywall joint tape is worth having on hand for any seam repair. For smaller patch areas where you’re not spanning a seam, self-adhesive fiberglass mesh tape is easier to work with and acceptable.
For mid-field cracks where full tape-and-mud feels like overkill, fabric-based self-adhesive crack tapes (like FibaTape or Saint-Gobain ADFORS products) offer a middle ground — more durable than compound alone, simpler than a full tape-and-mud job.
How to Apply the Best Patching Compounds for Ceiling Cracks So They Stay Put
This section is focused on why ceiling repairs fail specifically — not a full step-by-step walkthrough.
Prime before you apply compound. Bare drywall paper and old painted surfaces are both low-adhesion for joint compound. Skipping a bonding primer is the single most common reason ceiling patches fail within months. A multi-surface interior primer applied to the repair area before any compound goes on gives the patch something to grip. This is not optional.
Apply thin coats — 1/8 inch or less per pass. Thick applications sag, dry unevenly, and crack as they shrink. Two thin coats always beat one thick one.
Feather your edges 4–6 inches beyond the crack. If the compound edge is abrupt, the patch will show through paint. Wide, gradual feathering makes the repair disappear.
Allow full drying between coats. Pre-mixed compound needs at least 24 hours in typical indoor conditions. Don’t rush it.
Sand between coats with 120-grit, finish with 150-grit. Light sanding only — smooth, not remove.
Prime again before painting. Unprimed compound is highly absorbent. Paint goes on unevenly over bare compound and a dull halo appears right where the patch is. A thin coat of primer before the finish paint prevents that entirely.
Products Worth Skipping and the Mistakes That Waste Your Money
- Caulk in ceiling cracks: Doesn’t hold paint well, can’t be skim-coated, and looks rough once painted over. Avoid it entirely on ceiling cracks. If you need a waterproof silicone caulk, save it for wet areas like kitchen and bathroom surfaces where waterproof silicone caulk actually belongs.
- Spackling on seam cracks: Dries brittle, can’t bridge movement, crack comes back.
- One-coat thick fills on wide cracks: Shrinkage cracking inside the patch itself. Always build up in thin layers.
- Skipping tape on seam cracks: The repair will fail. Tape is load-bearing in this context, not cosmetic.
- Texture spray before priming: Texture won’t adhere properly to bare compound and the sheen will differ from the surrounding ceiling.
- Using lightweight spackling on plaster: Plaster requires a stiffer base compound. Lightweight spackling on a deep plaster crack will pop right out.
The most common buying mistake: Choosing the fastest-drying product without checking whether it’s rated for overhead use or appropriate for the crack width. Fast-drying and right-for-the-job are not the same thing. Check the label for overhead application before buying — not all ceiling crack repair products are rated for it.
FAQ: Best Patching Compounds for Ceiling Cracks
What’s the difference between joint compound and spackling for ceiling cracks? Joint compound bonds better overhead, feathers to a smooth finish, and can be used with tape — making it suitable for seam cracks and wider repairs. Spackling dries faster but is brittle, bonds poorly on overhead surfaces, and isn’t strong enough to bridge any crack that experiences movement. For most ceiling crack repairs, joint compound or a flexible filler is the better choice.
Do I need tape for a ceiling crack repair? Yes, if the crack runs along a drywall seam or is wider than approximately 1/8 inch. Tape bridges the gap so the compound doesn’t span unsupported space. Without it, the compound re-cracks as the ceiling flexes. For narrow hairline cracks in the field (not along a seam), tape is not required if you use a flexible patching compound.
Why does my ceiling crack keep coming back after patching? Either the wrong product was used (rigid compound over a moving joint, no tape on a seam crack, spackling over a wide crack), or the underlying cause hasn’t been fixed. If the crack keeps returning despite correct product use, the problem is movement, moisture, or a structural issue — not the compound. More patching compound will not solve it.
Can I use caulk to fill a ceiling crack? No. Caulk doesn’t hold paint well, telegraphs texture problems through the finish, and can’t be skim-coated. It may feel like a quick fix but it creates more work on the next repair. Use a flexible patching compound instead.
How long does joint compound take to dry on a ceiling? Pre-mixed all-purpose joint compound typically needs 24 hours between coats under average indoor conditions (70°F, moderate humidity). High humidity or thick application extends that significantly. Setting-type compounds like Durabond harden by chemical reaction and can be ready to recoat in 90 minutes to a few hours depending on the formulation — but they’re much harder to sand.
What’s the best patching compound for a plaster ceiling? A two-step approach works best: USG Durabond 90 (setting compound) to fill the void and stabilize loose edges, followed by a skim coat of all-purpose joint compound for the finish layer. Lightweight spackling or standard pre-mixed compound alone isn’t strong enough for deep plaster repairs and will fail.
Do I need to prime before painting a ceiling patch? Yes — twice. Once before applying compound (bonding primer on the repair area), and once after sanding the finished patch and before applying finish paint. Skipping the second prime coat causes the compound to absorb paint unevenly, leaving a dull halo that’s visible even after multiple paint coats.
Is fiberglass mesh tape or paper tape better for ceiling cracks? Paper tape is better for seam cracks and long flat cracks on ceilings. It has higher tensile strength and compound can’t crack through it the way it can through mesh weave. Fiberglass mesh tape is easier to apply (self-adhesive) and acceptable for mid-field patch areas, but it’s not the first choice for cracks along a drywall seam.
Recommendation Framework: Match the Best Patching Compound to Your Ceiling Crack
| Situation | Recommended Product + Approach |
|---|---|
| Hairline crack, stable, drywall ceiling | Flexible filler (e.g., DAP Elastopatch), no tape needed, bonding primer before applying |
| Crack along a drywall seam | All-purpose joint compound + paper tape, two coats, bonding primer before and after |
| Wide crack (wider than 1/8 inch), mid-field, drywall | All-purpose joint compound + fiberglass mesh tape |
| Plaster ceiling, any crack | Durabond 90 base coat to fill and stabilize, all-purpose compound skim coat on top, paper tape if any seam is involved |
| Crack that keeps coming back | Stop buying compound — the cause is moisture, active movement, or a structural issue that no patching product will fix |
Match the product to the crack type, prime before and after, and work in thin coats. Do those three things and most ceiling crack repairs hold for years without needing to be redone. The best patching compounds for ceiling cracks aren’t necessarily the fastest or the most expensive — they’re the ones matched correctly to what the crack is actually doing.

DIY Home Repair & Plumbing

