
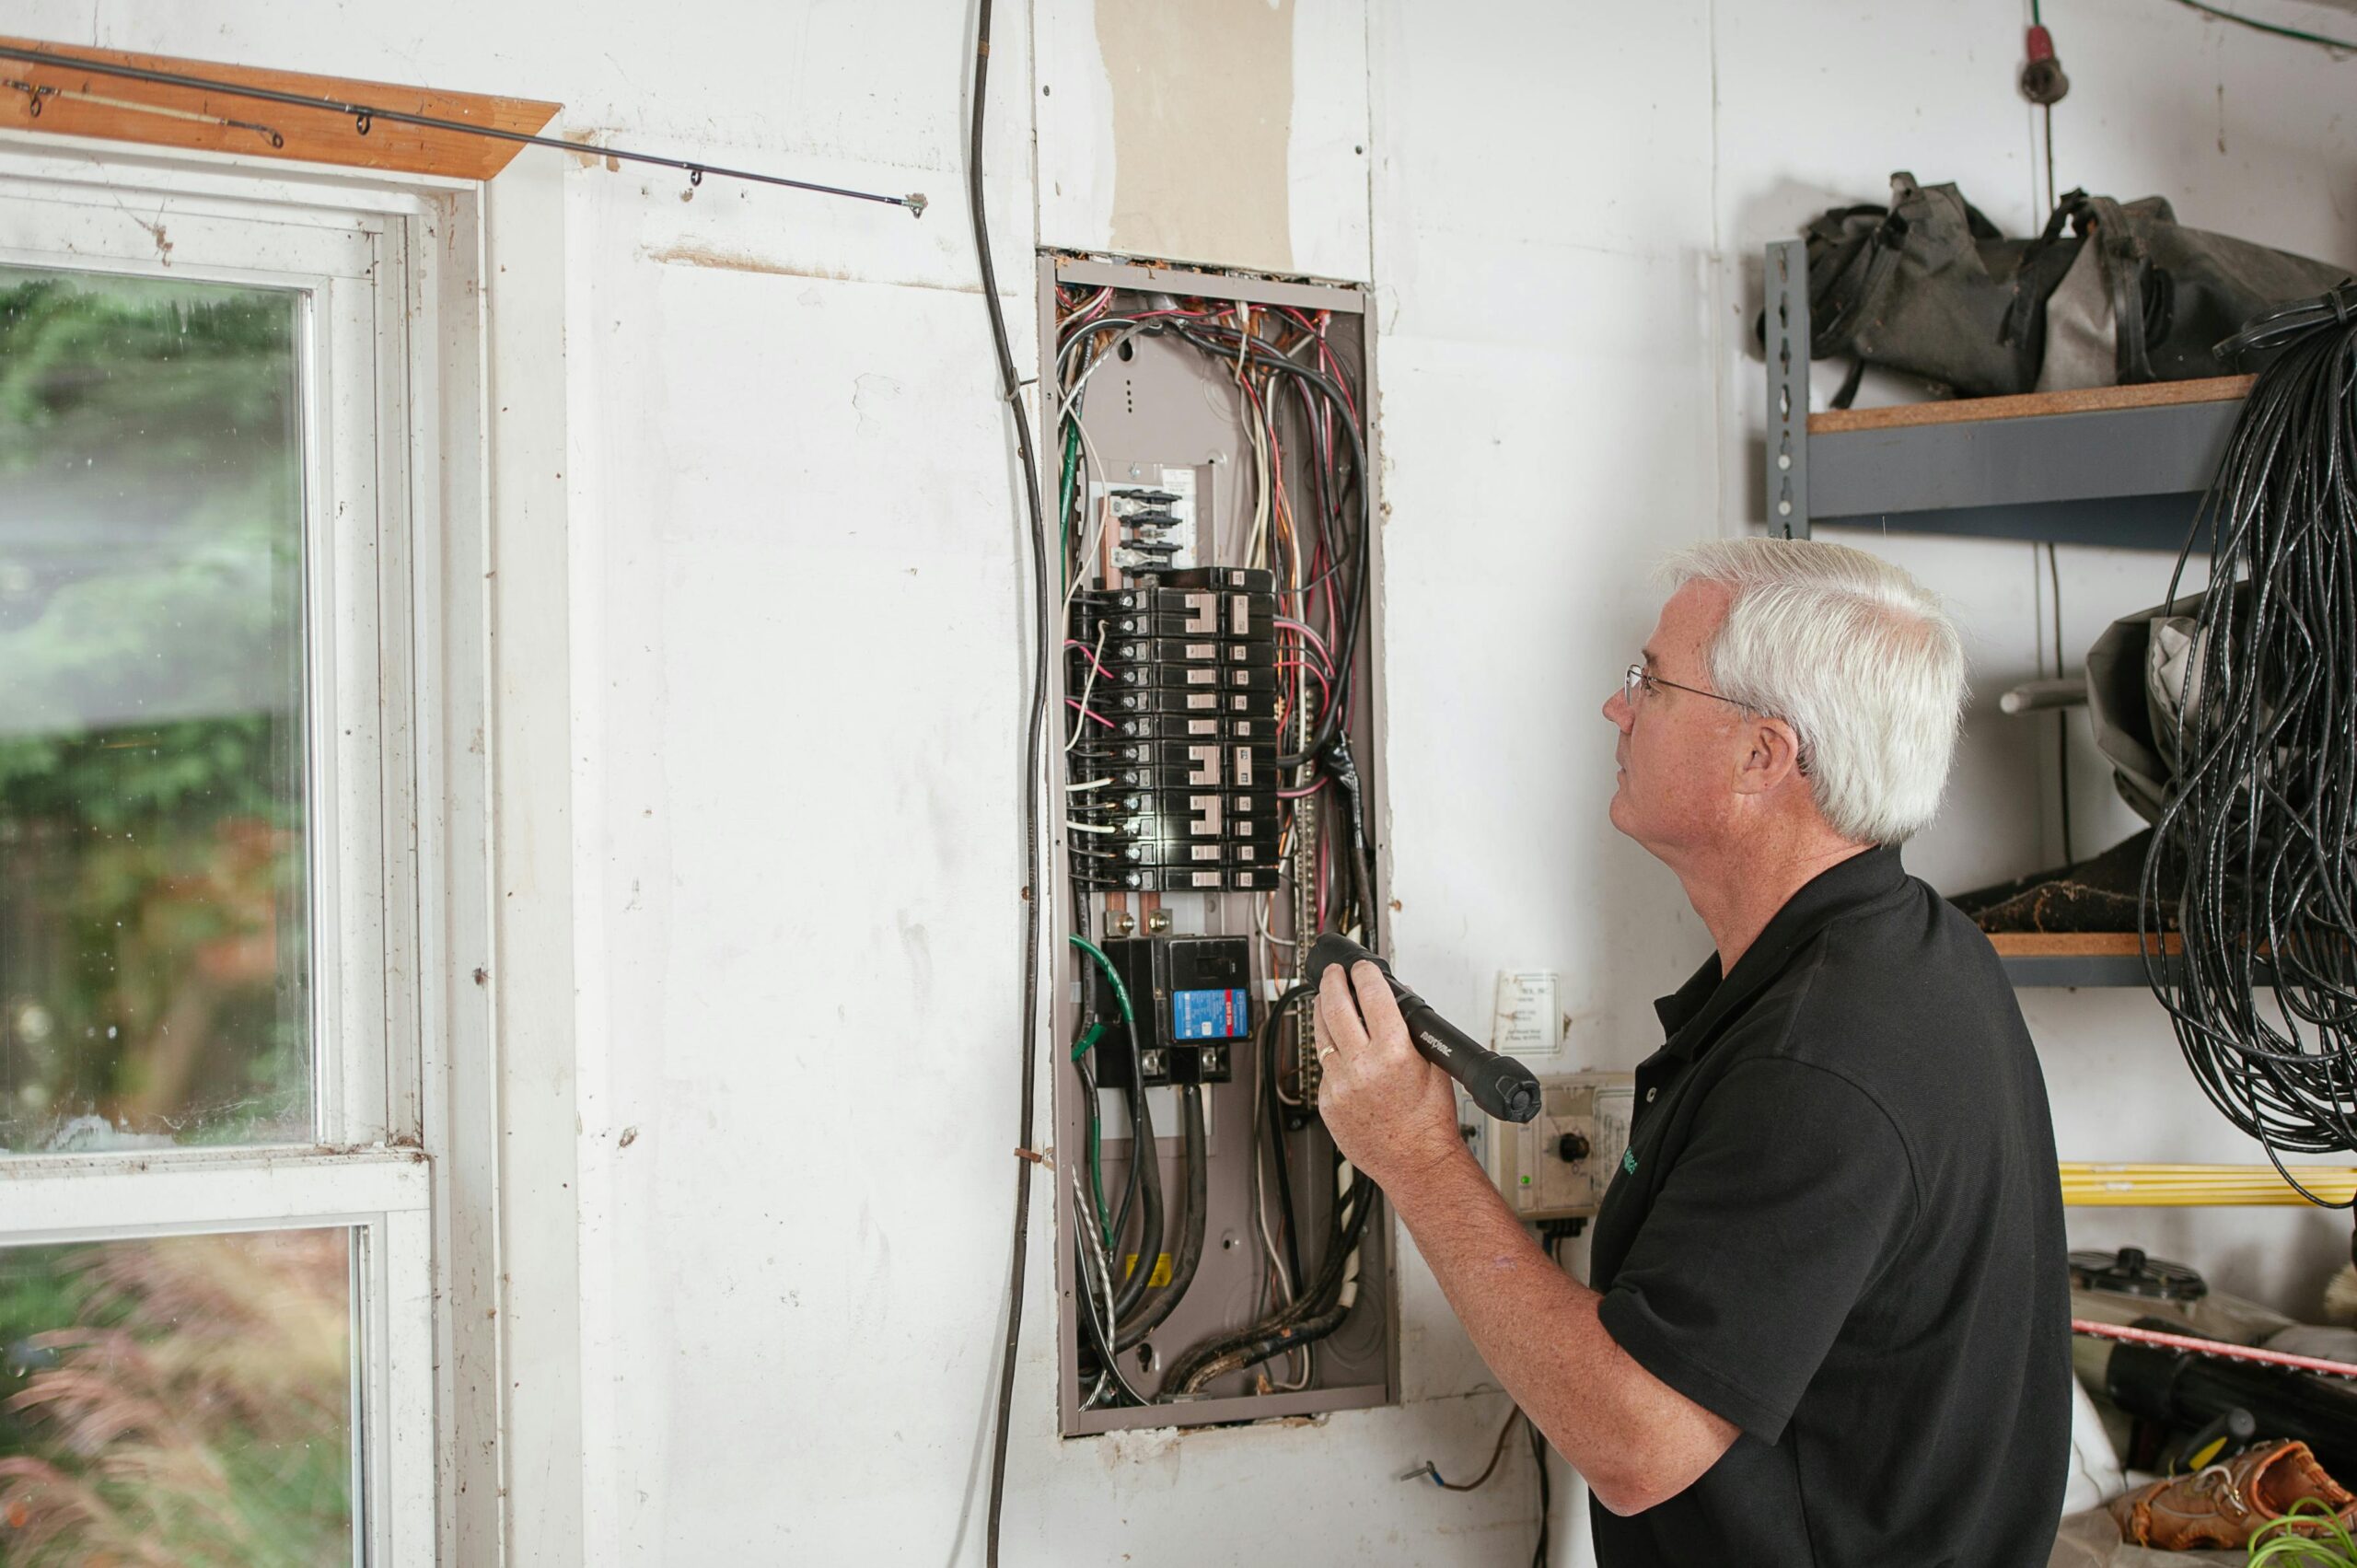
You open the panel door, and there it is — two columns of breakers, some with handwritten labels that have faded to nothing, a few with no labels at all, and a directory card on the door that lists “Kitchen” three times without explaining which kitchen circuit is which. Knowing how to read your electrical panel is one of the most practical skills a homeowner can develop, and most people never learn it until something goes wrong.
This circuit breaker panel guide will take you from zero to confident. By the end, you’ll be able to identify every major component in the panel, interpret what the labels and numbers mean, map each breaker to the circuit it controls, and create a labeled directory that’s actually useful the next time an outlet goes dead or a circuit trips. Reading and labeling your panel is a homeowner-safe task — this guide also tells you clearly when to stop and call a licensed electrician.
Disclosure: This article contains affiliate links. If you purchase through these links, we may earn a small commission at no extra cost to you. As an Amazon Associate, we earn from qualifying purchases.
What Every Part of Your Home Breaker Box Does
Before you can read your electrical panel, you need to know what you’re looking at. Think of this as your home breaker box explained from the ground up. These are the main components and what each one does.
The Main Breaker
The main breaker sits at the top of the panel. It’s a large double-pole breaker with two connected handles. Its amperage rating — typically 100A, 150A, or 200A for most U.S. homes — tells you the total capacity of the panel. Flip it off and everything downstream loses power.
One critical point: turning off the main breaker does not cut power to the service entrance wires coming in from the utility meter. Those wires are always live and should never be touched. The main breaker only controls the power distributed into your home.
Individual Branch Circuit Breakers
Below the main breaker are the branch circuit breakers — rows of individual switches that each control one circuit. Understanding the two types matters:
- Single-pole breakers control 120V circuits. These handle most outlets, lights, and small appliances.
- Double-pole breakers control 240V circuits. These handle high-draw appliances like electric dryers, ranges, HVAC systems, and water heaters. They take up two slots and have two connected handles.
Breakers are arranged in two columns. They alternate between the left and right bus bars inside the panel. This is how the electrical load is balanced across both legs of the incoming power. You don’t need to manage this yourself, but it explains why breakers are numbered the way they are.
The Neutral and Ground Bars
Along the sides of the panel, you’ll see silver metal strips with wires clamped into them. These are the neutral bar and the ground bar.
- White wires connect to the neutral bar. Neutral carries current back from the circuit to complete the loop.
- Bare copper or green wires connect to the ground bar. Ground provides a safety path for fault current.
In a main panel, the neutral and ground bars are typically bonded together. In a subpanel — a secondary panel fed from the main — they must be kept separate. If you ever look at a subpanel and wonder why the bars look different, that’s why.
The Panel’s Amperage Rating
The panel’s total amperage is printed on the main breaker handle or on a label inside the door. This number matters when you’re adding new appliances or circuits. It tells you how much capacity the panel has overall. A 100A panel serving a modern home with electric appliances is often working near its limits. A 200A panel has considerably more headroom.
How to Read Your Electrical Panel’s Breaker Labels (and What They Should Tell You)
Most panels have a directory card on the inside of the door. It’s a small grid of numbered rows where each circuit is supposed to be described. In a well-maintained home, this card is the map to your entire electrical system. Learning how to read electrical panel directories accurately is where most homeowners get stuck.
What a Good Label Actually Includes
A useful label tells you two things: the location and what’s powered there. For example:
- “Kitchen — Counter Outlets (North Wall)” ✓
- “Master Bath — Outlets” ✓
- “Kitchen” ✗ (too vague)
- “Breaker 7” ✗ (tells you nothing)
Most homeowners inherit labels that are too vague, flat-out wrong after a renovation, or missing entirely. That’s what the circuit mapping process in the next section is for.
What the Number on the Breaker Handle Means
The number stamped on the breaker handle is its amperage rating — not its circuit number. A “20” on the handle means that breaker will trip if more than 20 amps flow through the circuit. It does not mean it’s circuit number 20.
Circuit slot numbers are the positions in the panel. In most U.S. panels, odd numbers run down the left column and even numbers down the right. The directory card uses these slot numbers to link a position to a circuit description. A double-pole breaker occupies two consecutive slot numbers — one on each side.
The Right Tool for the Next Step
Before mapping your circuits, pick up a non-contact voltage tester (NCV tester). This tool detects live voltage without touching a wire. You hold it near an outlet, switch, or wire and it beeps or lights up if the circuit is energized. It’s essential for confirming a circuit is actually dead before you work on anything. The Klein Tools NCVT-1 and comparable Fluke models are both reliable options available for under $30.
How to Identify Breakers in Your Electrical Panel
Circuit mapping — figuring out which breaker controls which outlets, lights, and appliances — is something most homeowners have never done. This is one of the most useful things you can do to understand and identify breakers in your electrical panel before a problem ever comes up. Here’s how to do it.
Tools at a Glance
- A helper, or a plug-in circuit tracer
- A non-contact voltage tester
- Pen and paper or your phone for notes
- An outlet tester (useful for confirming dead outlets — see our guide on replacing an outlet for more on outlet testing)
The Two-Person Method
This is the most straightforward approach. One person stands at the panel. One person moves through the house.
- Turn off one breaker.
- The helper confirms what lost power — outlets, lights, appliances.
- Note everything that went off, not just the obvious items. Lights, smoke detectors, and hardwired appliances all sit on circuits too.
- Move to the next breaker and repeat.
Work systematically from top to bottom. Don’t rush. A single circuit often covers more than one room. Bathrooms, hallways, and stairwells are commonly shared across circuits.
The Solo Method with a Circuit Tracer
If you’re working alone, a plug-in circuit tracer does the job without a second person. You plug the transmitter into an outlet. The receiver identifies which breaker controls that outlet when held near the panel. It takes longer, but it’s accurate and reliable.
A basic plug-in tracer from Sperry Instruments or Klein Tools handles this task well. It’s a practical investment if you’re doing a full panel audit or working through a house where labels are completely missing.
For 240V double-pole breakers, skip the plug-in test. You can’t test a dryer or range by unplugging it mid-audit. Instead, identify these by the appliance they serve — check the laundry room, kitchen, HVAC unit, and water heater.
Tips for Getting It Right
- Write in pencil first. Verify each circuit twice before committing to a label.
- Check everything in a room, not just the outlets. Ceiling lights, bathroom fans, and exhaust vents are all on circuits.
- One circuit may span parts of multiple rooms. Note all affected areas.
Understanding Breaker Sizes, Amperage, and What Can Trip Them
The amperage number on a breaker is its limit — the maximum current the circuit can safely carry before the breaker trips to prevent overheating. This is a core part of knowing how to read your electrical panel correctly.
Here’s what common ratings typically serve:
| Amperage | Typical Use |
|---|---|
| 15A | Bedroom outlets, lighting circuits |
| 20A | Kitchen counter outlets, bathroom outlets |
| 30A | Electric dryer, some HVAC |
| 40A–50A | Electric range or oven |
| 60A–100A+ | Subpanels, large HVAC systems |
Why Breakers Trip
Three things cause a breaker to trip:
- Overload — too many devices drawing too much current at once.
- Short circuit — a hot wire contacts a neutral or ground wire.
- Ground fault — current takes an unintended path to ground.
How to Spot a Tripped Breaker
A tripped breaker won’t sit fully in the OFF position. It will sit in the middle, slightly off-center. To reset it: push it firmly to OFF first, then back to ON. The firm OFF step is important — skipping it often results in the breaker not resetting fully.
A breaker that trips repeatedly under normal loads is not a labeling problem. It’s a sign something is wrong. That could be an overloaded circuit, a wiring fault, or a failing breaker. The next section covers when the panel itself is warning you.
How to Label Your Electrical Panel So It’s Actually Useful
A well-labeled panel saves significant time when something goes wrong. Here’s how to build a directory that holds up long-term.
Setting Up the Directory
Use the slot numbers in the panel as your guide. Each row in the directory card corresponds to a breaker position. If the original directory card is faded or missing, many panel manufacturers sell replacements. Generic printable templates are also easy to find online.
For double-pole breakers, label both slot numbers they occupy. Since they control a single 240V circuit, both entries should say the same thing.
Writing Labels That Actually Work
Follow this format: [Area] — [What it powers]
- “Kitchen — Counter Outlets (North Wall)” — clear and specific
- “Garage — All Outlets” — acceptable if it’s one circuit
- “HVAC — Downstairs Unit” — useful for double-pole
- “Kitchen” — not useful
Making Labels Last
The handwritten labels on most panel directories fade within a few years. A label maker solves this. A Brother P-touch or Dymo label maker produces clean, durable labels that stay legible for years. Print labels for the directory card and stick them directly onto the card instead of handwriting.
Once the directory is complete, take a photo of it and save it to your phone. If the panel door gets bumped or the card shifts, you still have the information.
When Your Electrical Panel Is Telling You Something Is Wrong
Some panel conditions are not labeling or mapping problems — they’re warning signs that require a licensed electrician. Once you know how to read your electrical panel, you’ll also be able to spot when something isn’t right.
Stop and call a professional if you notice:
- A breaker that won’t reset or trips immediately after being reset — this points to a wiring fault or a failed breaker
- A breaker that feels warm or hot to the touch — abnormal and potentially dangerous
- A burning smell from inside the panel — do not open it further; call immediately
- Rust, moisture, or corrosion inside the panel — indicates water intrusion
- Two wires connected to a single breaker terminal (double-tapping) — a code violation in most jurisdictions
- A circuit that trips consistently under reasonable loads — could be a weak breaker, undersized circuit, or wiring issue
Reading the panel, mapping circuits, and labeling are all tasks a homeowner can do safely. Once you’ve confirmed a circuit is safe, tasks like replacing a standard outlet are well within reach for most homeowners. For a broader look at what you can tackle on your own, see our guide to Common Electrical Problems Homeowners Can Troubleshoot Safely. But replacing breakers, rewiring circuits, and repairing internal panel damage are not DIY tasks — these require a licensed electrician.
Conclusion
Your electrical panel is the control center for your home’s power. Knowing how to read your electrical panel — the parts, the numbers, the labels, and what’s missing — makes every electrical task faster and safer. A properly mapped and labeled panel means the next time an outlet stops working or a circuit trips, you’re not guessing.
The key takeaways:
- The main breaker controls all downstream power but not the incoming service wires
- Single-pole breakers handle 120V circuits; double-pole handle 240V
- The number on the breaker handle is amperage, not circuit number
- Map circuits with a helper or a plug-in circuit tracer, then label using specific, location-based descriptions
- Use a label maker for durable, legible directory entries — and photograph the finished result
- Any sign of heat, burning, corrosion, or repeated tripping is a reason to call a licensed electrician
If you’re working through an outlet that stopped working or trying to understand why your GFCI outlet keeps tripping, understanding your panel is step one. Both tasks start with knowing which breaker to flip and whether the circuit is behaving normally — exactly what this guide sets you up to do.
Frequently Asked Questions
What does it mean when a breaker is in the middle position?
A breaker in the middle position — not fully ON or fully OFF — is tripped. It won’t reset properly if you just push it toward ON. First push it firmly to the OFF position until it clicks, then flip it back to ON. If it trips again immediately, there’s a fault on the circuit that needs to be investigated.
Can I add more breakers to my electrical panel?
It depends on whether your panel has open slots and sufficient amperage capacity. If your main breaker is rated at 200A and your existing circuits don’t consume close to that total, there may be room to add circuits — assuming open slots exist. If the panel is full, a licensed electrician can install tandem breakers in compatible slots or recommend a subpanel. Never attempt to add breakers yourself without understanding the panel’s capacity and local code requirements.
How do I know if my panel is too old or needs to be replaced?
Panels older than 25–30 years may use outdated breaker technology or no longer meet current electrical codes. Specific brands — including Federal Pacific Stab-Lok and Zinsco panels — have documented safety issues and are frequently flagged by home inspectors. Signs a panel may need replacement include frequent unexplained tripping, visible corrosion, burn marks inside the enclosure, or a licensed electrician flagging it during an inspection. If you’re seeing multiple warning signs at once, the Why Is This Happening in My House? Complete Home Problem Diagnosis Guide can help you connect electrical symptoms to broader home issues.
What’s the difference between a 100-amp and 200-amp panel?
The amperage rating of the panel determines how much total current can be delivered to your home at once. A 100A panel is adequate for smaller homes with gas appliances. A 200A panel is the current standard for new construction and homes with electric appliances, EV chargers, or larger square footage. Upgrading from 100A to 200A requires a licensed electrician and coordination with your utility.
Is it safe to touch the breakers in my electrical panel?
Flipping breakers on and off is safe. The breaker handles are designed to be touched. What you should never touch are the wires, terminals, or bus bars inside the panel enclosure — especially the service entrance wires at the very top, which remain live even when the main breaker is off. Keep your hands away from anything metal inside the enclosure. Use a non-contact voltage tester to confirm circuits are dead before working on outlets or fixtures.
Why does my breaker box have breakers with no labels at all?
Unlabeled breakers are extremely common — especially in homes that have changed hands, been renovated, or had original directory cards lost or damaged. It’s not a safety issue on its own, but it is a practical problem. The circuit mapping process described in this guide is the right fix. Work through the panel systematically, identify every circuit, and create a complete labeled directory before you need to use it in an emergency.
What are tandem breakers and are they safe?
Tandem breakers — also called slim breakers or half-size breakers — fit two circuits into the space normally used by one single-pole breaker. They are safe and code-compliant when used in a panel that is rated to accept them (called a “CTL panel” — circuit total limitation). Not all panels accept tandem breakers in every slot. Check your panel’s label or documentation to confirm which slots are approved for tandems before installing any. For a complete list of tools you’ll want on hand for tasks like this, see our guide to Best Home Repair Tools and Supplies for Homeowners.

