Most homeowners fall into one of two camps: they have almost no tools, or they have a junk drawer full of mismatched gear that hasn’t been touched in years. Neither setup works when something breaks. The best home repair tools for homeowners aren’t about having everything — they’re about having the right things. A focused kit of hand tools, supplies, and a couple of power tools covers around 80% of interior repairs without a service call. This list covers exactly that: the tools and materials that earn their place in a real home, ordered by how often you’ll actually use them.
Disclosure: This article contains affiliate links. If you purchase through these links, we may earn a small commission at no extra cost to you. As an Amazon Associate, we earn from qualifying purchases.
Why the Right Home Repair Tools Save You Time and Money
A single service call for a minor repair — patching drywall, reseating a loose hinge, recaulking a baseboard — often runs $100 to $200 before labor rates increase. A basic starter toolkit costs less than that and lasts years. Beyond the cost, using the wrong tool causes secondary damage: a screwdriver that slips strips a screw head, a dull blade tears drywall paper instead of scoring it cleanly. Having the correct tool on hand is not just convenient — it prevents the small repair from becoming a larger one.
Essential Home Repair Tools Every Homeowner Should Have on Hand
These are the core of any home repair kit. Buy these first. Use them most.
1. Screwdriver Set — Flathead and Phillips in Multiple Sizes
A single multi-bit driver feels convenient, but a proper magnetic screwdriver set covers situations a multi-bit can’t: different shaft lengths for reaching recessed screws, varying handle sizes for torque control, and dedicated tips that don’t wobble in the slot. Magnetic tips keep screws from dropping into wall cavities or appliance panels — a small feature that saves significant frustration. You’ll use this set for outlet covers, cabinet hardware, hinge adjustments, door hardware, and appliance panels. This is the most-reached-for tool in any home repair kit and one of the best home repair tools for homeowners to buy first.
2. Hammer
A standard 16 oz. claw hammer handles the full range of tasks a homeowner faces: driving finish nails, adjusting door frames, tapping parts into place, and pulling nails without gouging surrounding surfaces. The claw end, used correctly with a scrap of wood as a fulcrum, pulls nails cleanly from trim and drywall. Framing hammers are heavier and designed for construction work — they’re overkill for interior repairs and harder to control in tight spaces. One standard claw hammer covers everything on this list that requires one.
3. Adjustable Wrench — 6-Inch and 10-Inch
4. Needle-Nose Pliers
Needle-nose pliers reach into spaces a standard wrench or screwdriver can’t. They’re used for bending wire at terminal connections, gripping small parts during disassembly, holding nuts in recessed spaces, and retrieving dropped screws. In electrical work, they’re essential for forming the small hook loops that connect wire to screw terminals. Before opening any outlet box, confirm the circuit is dead — if you’re troubleshooting a situation where an outlet has no power, that article walks through the diagnostic process before any tools go near the wiring. For homes with GFCI outlet issues, needle-nose pliers are also useful when accessing the terminal connections behind the device.
5. Utility Knife with Spare Blades
A utility knife does more interior repair work than most homeowners expect: scoring drywall before snapping it, cutting caulk beads before recaulking, trimming door shims, opening compound containers cleanly, and cutting mesh patches to size. The key detail is blade replacement. A dull blade requires more pressure, which increases the likelihood of slipping — making it more dangerous than a sharp one. Replaceable-blade models are significantly better than fixed-blade versions because the cost of a new blade is negligible and the performance difference is immediate. Keep a supply of spare blades in the kit.
6. Tape Measure — 25 Feet
A 25-foot tape measure handles every interior measurement a homeowner needs: room dimensions, wall spacing for studs, fixture placement, shelf positioning, and material cuts. Longer tapes add weight and bulk without practical benefit for interior work. Look for a blade marked in both imperial and metric units — some materials and fixtures reference metric dimensions. A blade with a standout of at least 7 feet (meaning it stays rigid without support for that length) makes solo measuring significantly easier.
7. Level — 24-Inch
A 24-inch level is the most versatile single size for interior repairs. It’s long enough to confirm a shelf is plumb, check whether a door frame is true, or align a row of wall tiles — and short enough to use in confined spaces. Torpedo levels (the small 9-inch variety) are useful as secondary tools but can’t substitute for a full-size level on most installations. Even small deviations show up over time: a slightly unlevel shelf causes items to slide; an unlevel outlet cover looks sloppy against flat trim.
8. Putty Knife — 3-Inch and 6-Inch
Two putty knives cover every spackling and patching job you’ll encounter. The 3-inch is for spot repairs: nail holes, small dings, hairline cracks. The 6-inch is for spreading compound over larger areas and feathering edges so patches blend into the surrounding wall. Flexible-blade putty knives are best for applying and smoothing compounds. Stiff-blade versions are better for scraping old caulk or paint. Buying one of each blade stiffness in the larger size is worth the small added cost.
Must-Have Supplies for Common Interior Home Repairs
Supplies are consumables — they get used and replaced. Treat this section as a checklist of what to keep stocked, not just what to buy once.
9. Spackling Compound
Spackling compound handles the most common interior wall repairs: nail holes, small anchor holes, minor drywall dings, and hairline cracks in plaster. Pre-mixed tubs are appropriate for most homeowners. Some brands include a pink-to-white color indicator that shows exactly when the compound has dried and is ready to sand — a useful feature for first-time patchers who tend to sand too early. For holes larger than about a quarter, spackling is not the right material.
10. Lightweight All-Purpose Joint Compound
Joint compound — commonly called “mud” in trade settings — is the step up from spackling for anything larger than a small hole. It works with mesh patches, covers tape joints, and allows skim coating over wider areas. The key difference from spackling: joint compound feathers out smoothly and sands to a fine finish, making it easier to blend a patch into a flat wall. Spackling dries harder and shrinks more noticeably, which makes it unsuitable for larger repairs. Before patching any ceiling area, check for an underlying moisture issue — a ceiling water stain can indicate an active leak that needs to be resolved before the surface repair begins. Pre-mixed all-purpose joint compound in a 1-gallon container covers most homeowner repairs without excess waste.
11. Painter’s Tape
Painter’s tape is used for masking trim, outlets, and edges before painting or caulking — and for protecting finished surfaces during repairs. Standard blue tape works on most surfaces. Delicate-surface tape (typically marked for use on freshly painted walls or wallpaper) uses a lower-adhesive formulation that won’t pull off the underlying finish. The most common mistake is leaving tape on past the recommended window — typically 24 hours for most surfaces — which causes the adhesive to bond more aggressively and tear the paint beneath when removed.
12. Interior Paintable Latex Caulk
Paintable latex caulk is the correct default choice for sealing gaps at baseboards, trim, window frames, and around door casings. It accepts paint after curing, which means caulked joints disappear under a finish coat rather than staying visible as a bead. Silicone caulk is reserved for wet areas: tub surrounds, sinks, and shower enclosures. Using silicone on interior trim is a common mistake — it cannot be painted and is significantly harder to remove later. A proper caulk gun (covered below) is necessary for applying tube caulk evenly.
13. Wood Glue
Wood glue handles a specific category of interior repairs that no other adhesive does as well: loose chair joints, split trim, separating cabinet face frames, and lifting wood veneer. PVA-based wood glue (the Titebond-style formulations are the standard reference) bonds interior wood permanently when the joint is clamped and held for the recommended cure time. The bond is typically stronger than the surrounding wood. For repairs under stress — a chair rung, for example — proper clamping during cure makes the difference between a lasting fix and one that fails again in a few months.
14. Sandpaper Assortment — 80, 120, and 220 Grit
Every patch, filled hole, and surface prep step requires sanding before painting. Three grits cover the full range: 80 grit for shaping and knocking down high spots, 120 for general smoothing, 220 for final surface prep before applying paint. A sandpaper assortment pack that includes all three grits is more practical than buying individual sheets, and the cost difference is minimal. Use a sanding block — a simple rubber or foam block that holds the sheet flat — to maintain even pressure. Sanding freehand with fingers creates uneven grooves that show up clearly under paint.
15. Self-Adhesive Mesh Drywall Patch Kit
Holes from doorknob impacts, removed towel bars, old picture anchors, and hardware changes are too large for spackling but don’t require cutting out and replacing a drywall section. Self-adhesive mesh drywall patch kits cover holes up to about 4–6 inches and work with standard joint compound. The mesh provides a base for the compound to grip. The critical technique is feathering — spreading joint compound well beyond the patch edges in thin layers so the repair blends gradually into the surrounding wall. Patches larger than about 6 inches typically need a drywall backer board installed inside the wall cavity for structural support.
Power Tools Worth Buying for Home Repairs and Everyday Fixes
Keep this section short. Only three power tools belong in a homeowner’s basic kit.
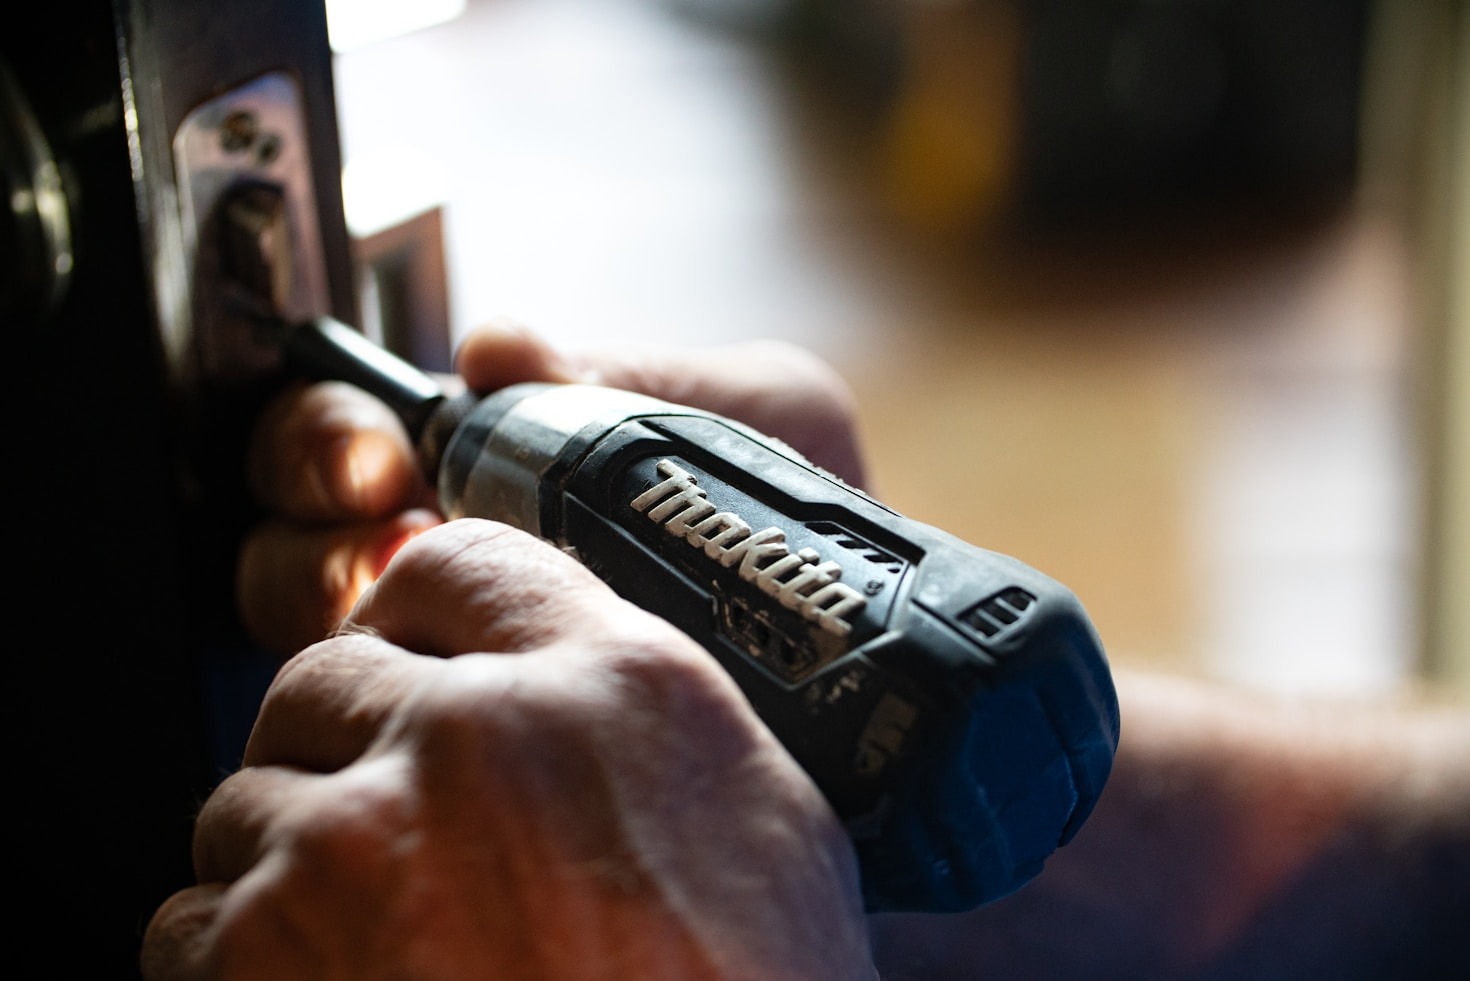
16. Cordless Drill/Driver — 18V or 20V
A cordless drill/driver is the single most useful power tool among the best home repair tools for homeowners. It drives screws faster and more precisely than any manual alternative, drills pilot holes to prevent wood splitting, and handles assembly and light demolition. Look for an 18V or 20V model with an adjustable clutch — the clutch prevents overdriving screws into drywall or stripping soft materials. A drill and driver set that includes both a drill/driver and an impact driver is worth the modest price premium if budget allows: the drill handles precision work, while the impact driver provides speed and torque for driving longer fasteners without the risk of cam-out. Two batteries are standard in most kits; buy that version over single-battery options.
17. Caulk Gun
Squeeze tubes of caulk exist, but they waste product and deliver uneven beads that are harder to tool smooth. A proper caulk gun feeds tube caulk at a consistent rate and gives the user direct control over bead size. A smooth-rod dripless caulk gun — where the rod releases pressure when the trigger is released — prevents the caulk from continuing to flow after you stop, which is the primary cause of messy application. This is a $10–$20 purchase. The improvement in caulk quality is immediate and obvious.
18. Oscillating Multi-Tool
An oscillating multi-tool is not essential for day one, but it earns its place quickly once a homeowner encounters the jobs it handles best: undercutting door casings before laying new flooring, removing old caulk from tub surrounds, cutting out damaged drywall sections, and trimming protruding nails or staples flush. The tool oscillates its blade at high speed in a tight arc, allowing it to cut and scrape in spaces where no other tool fits. It’s the tool that homeowners tend to wonder how they managed without after they first use it.
How to Stock a Home Repair Kit Without Overbuying
Building a kit progressively is smarter than buying everything at once. Here’s how to approach it:
- Start with hand tools and consumable supplies. They cover the majority of repairs and cost less than a single service call combined. The essential home repair supplies on this list — spackling, caulk, sandpaper, joint compound — cost less than most diagnostic fees.
- Add power tools when you have a specific job for them. A drill bought for a project gets used. A drill bought speculatively sits in a case.
- Spend more on tools you’ll use weekly. A quality screwdriver set, tape measure, and cordless drill are worth the extra cost. Sandpaper and spackling are consumables — buy mid-grade and replace as needed.
- Skip the boxed homeowner kit bundles. These are typically padded with tools of marginal use and built to a lower standard than individual purchases at the same price point.
- Don’t buy these yet: rotary tools, jigsaws, compound miter saws, oscillating tools (unless you have an immediate need). All useful — but only for specific projects, not everyday repairs.
- A cheap cordless drill is a false economy. A drill that lacks torque control strips screws and damages materials. Even on a tight budget, a mid-grade 18V–20V drill from a reputable brand is worth the difference.
- Think of this list as a home fix-it tools list you build over time — not a one-time shopping run. Adding items as jobs arise means every tool you own gets used.
Where to Store Your Tools So They’re Ready When You Need Them
The reason most homeowners reach for a butter knife instead of a screwdriver isn’t that they don’t own tools — it’s that the tools aren’t accessible when needed. Storage matters.
- A wall-mounted pegboard or tool organizer keeps hand tools visible, reachable, and in the same place every time. You see what you have, and you notice immediately when something is missing.
- A portable tool bag or rolling cart works well in apartments or homes without a dedicated workspace. Everything stays together and moves to the job.
- Keep supplies with the tools, not in a separate cabinet. Searching for spackling while a hole is open in the wall wastes time and interrupts workflow.
- Store caulk, spackling, and joint compound at room temperature. Freezing ruins latex-based compounds permanently. Heat accelerates drying in partially used containers.
- Label opened supply containers with the date. Joint compound lasts roughly 9 months once opened if stored properly. Caulk tubes, once punctured, are good for a few months if the tip is sealed between uses. Knowing the open date prevents using degraded material on a repair.
- Keep a running restock list. Note what’s low before the next repair, not during it. A small notepad on the shelf or a phone note works equally well.
Frequently Asked Questions
What’s the difference between spackling compound and joint compound? Spackling compound is best for small repairs — nail holes, minor dings, and hairline cracks. It dries hard and fast but tends to shrink, making it a poor choice for larger areas. Joint compound (also called “mud”) is designed for patches larger than a quarter, tape joints, and skim coating. It feathers out smoothly, sands more easily, and blends into the surrounding wall better. Use spackling for spot repairs; use joint compound when you’re covering a mesh patch or filling a hole larger than a coin.
Do I need a drill if I already have a screwdriver set? For most basic repairs, a quality screwdriver set handles the job. But a cordless drill/driver saves significant time and effort when driving multiple screws, assembling furniture, or drilling pilot holes in wood. The clutch control on a drill also prevents stripped screws and overdriven fasteners in a way that manual driving doesn’t. If you’re doing more than occasional repairs, a drill is worth the investment — it doesn’t replace your screwdriver set, it complements it.
Can I use silicone caulk instead of latex caulk on interior trim? No. Silicone caulk cannot be painted over, which means any silicone bead applied to baseboards, door casings, or window trim will stay visible as a shiny line even after painting. It’s also much harder to remove cleanly than latex caulk. Use paintable latex caulk on all interior trim and dry surfaces. Reserve silicone caulk for wet areas only: tub surrounds, sink edges, and shower enclosures.
What grit sandpaper should I use after patching a wall? After applying and drying a patch, start with 120-grit sandpaper to knock down any ridges or high spots. Follow with 220-grit for final smoothing before priming and painting. If the patch has significant texture or buildup, use 80-grit first to shape it, then step up through 120 and 220. Always use a sanding block to maintain even pressure — sanding with bare fingers creates uneven spots that show up clearly under paint.
Is a multi-bit screwdriver as good as a full screwdriver set? A multi-bit driver is convenient for quick tasks, but it doesn’t replace a full set for home repair work. Individual screwdrivers come in different shaft lengths for reaching recessed screws, and different handle sizes that give you more torque control. Multi-bit drivers also tend to have shorter shafts that can’t reach screws inside deep outlet boxes or appliance panels. A dedicated set with a range of sizes — including both flathead and Phillips in short and long shaft versions — is more versatile and more reliable across the types of repairs on this list.
How long does joint compound last once opened? Properly stored joint compound lasts approximately 9 months after opening. Keep the lid sealed tightly and store the container at room temperature — freezing or excessive heat will ruin it. If the compound develops mold, separates into layers that won’t re-mix, or has an off smell, discard it. Writing the open date on the container lid is a simple habit that prevents using degraded material on a finished repair.
Final Thoughts
The best home repair tools for homeowners are not the most expensive or the most numerous — they’re the ones that match the jobs you actually face. The 18 items on this list represent the essential home repair supplies and tools that cover the full range of interior repairs: wall patching, caulking, hardware replacement, plumbing connections, and basic electrical access. Start with the hand tools and supplies, add the power tools as jobs arise, and keep everything stored in one accessible location. That combination is what separates homeowners who handle repairs confidently from those who wait weeks for a service appointment.
For specific plumbing repairs that the tools on this list support directly, see our step-by-step guide on how to replace a toilet flapper — one of the most common and straightforward fixes a homeowner can handle with basic tools. If you’re not sure whether the flapper is the problem, our guide on Why Your Toilet Keeps Running After You Flush walks through the full diagnostic process.